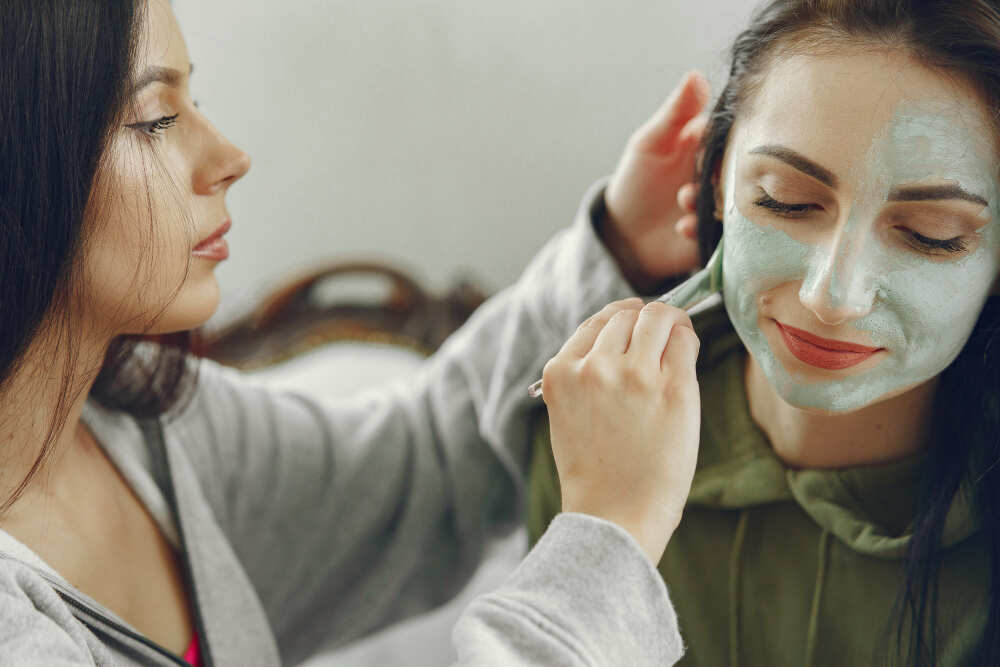
Eager to achieve a glowing skin without leaving the comfort of your house? Here are some easy, but natural ways to perform a facial at home that are safe for your skin and highly cost-efficient. With the right instructions and materials, attaining that salon shine is feasible, even from the couch. In this blog, we will take you through every step of performing a facial at home without the use of harsh equipment or chemicals; and involves the use of natural and gentle products to get shining skin.
Highlights
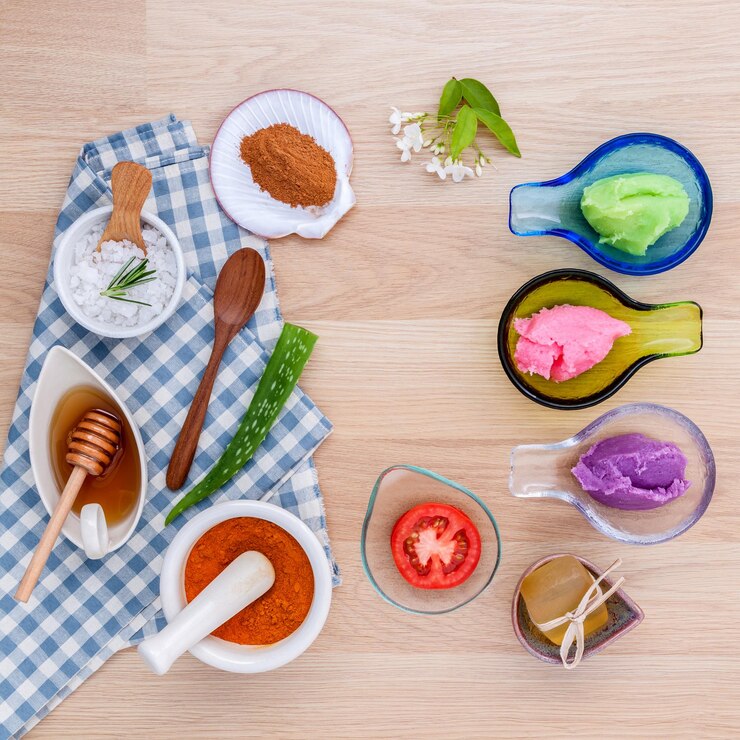
- Easy and Natural DIY Facials: Learn how to achieve glowing skin at home using simple kitchen ingredients like honey, yogurt, turmeric, and rose water without harsh chemicals.
- Step-by-Step Home Facial Routine: Follow an easy guide including cleansing, exfoliating, steaming, facial massage, and face packs tailored for both dry and oily skin types.
- Affordable and Relaxing Self-Care: Create your own facial kits for cost-effective, chemical-free skincare while enjoying relaxing self-care sessions at home.
From preparing for a special occasion to indulging in self-care, these DIY facial steps like exfoliate, cleanse, and hydrates the skin. It leads to soft, supple, and glowing skin. Transform your home into a beauty spa through the art of skincare. Let’s explore ways to do facials at home naturally to attain glowing skin — because sensational skin is always within reach.
Step-by-Step Guide: Facial at Home with Home Remedies
This blog focuses on tricks to be tried at home for facial use of proven ingredients, found normally in your kitchen or home storage. Items like honey, yogurt, turmeric, and rose water among others not only work as cleansing agents but also aids in exfoliation and moisturizing the skin. Get to know about a massage technique designed to enhance blood flow under your skin, and make it look brighter while promoting hydration.
Let us explore the steps to do facial at home with home ingredients –
1. Cleanse
Begin with a blank slate. Start with cleansing products that fit your skin type. If you’re looking for an all-natural option, use this DIY cleanser:
DIY Cleanser (suitable for all skin types):
- 2 tablespoons raw milk
- 1 tablespoon honey
- Combine the ingredients and use a cotton pad to apply them to your face. After 2 minutes, rinse off with lukewarm water.
2. Exfoliate
Exfoliation is the best option to get rid of dead skin cells and supports refreshment of your skin.
Ingredients required to scrub from the comfort of your home:
- 1 tablespoon of Oatmeal
- 1 tablespoon of Yogurt
- 1 Teaspoon of Honey
For 2 to 3 minutes, gently rub in a circular motion. Wash off with clean water afterward. This scrub works particularly well as a home facial exfoliate for both dry skin and oily skin.
3. Steam
Opening pores and preparing the skin for the following steps is accomplished through steam cleaning.
The stream treatment procedures at home include: –
- Put water in a bowl and bring it to a boil.
- (Optional) Add some essential oil drops.
- Cover your head with a towel and lean over the bowl.
- Steam for 5-7 minutes.
Homemade bursts facial steamer kits or store bought facial kits are equally enhanced through the benefits of steaming.
4. Apply Bleach (Optional)
Some prefer to add bleach for added brightening and lifting. If you are considering facial bleaching at home, herbal or mild bleaches are good options. The facial steps at home with bleach will contribute to the overall rejuvenation of your skin.
Natural bleach alternatives:
- 1 tbsp of tomato juice,
- A dash of turmeric
- Leave on for 5 to 10 minutes then rinse. Helps reduce tan and worsening skin tones.
Also Read: How to Do Facial at Home: A Step by Step Facial Tutorial
5. Facial Massage
Knowing how to execute a facial massage is imperative when it comes to improving blood circulation and decreasing puffiness.
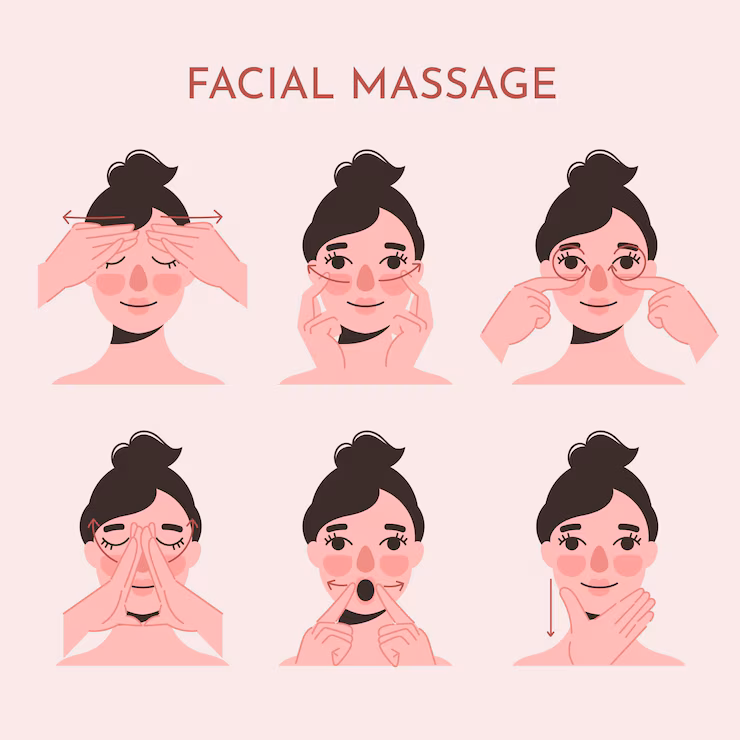
The facial massage step includes –
- Use one tablespoon of aloe vera gel, a few drops of olive oil.
- As a rule, go in an upward and outward direction. dollop some cream on and massage for 15 minutes. Repeat the same for the neck.
6. Face Pack
Complete the nutrition replenishing process with a nourishing face pack.
For Dry Skin:
- 1 tablespoon mashed banana
- 1 teaspoon honey
For Oily Skin:
- 1 tablespoon fuller’s earth (Multani mitti)
- As required, use rose water.
- Apply the pack for 15-20 minutes and rinse it off with cool water. This brings the facial to completion with household items for radiant results.
- Use toner and moisturizer.
- Finish off the facial by balancing the skin’s pH and the facial moisture content.
How to do a Facial Massage at Home for Dry and Oily Skin?
Creating a natural facial at home for oily and dry skin alike may seem daunting, but it can be done with the correct proportions of ingredients. Oily skin benefits from lemon juice with cucumber and multani mitti, which tone and clarify per excess sebum, while dry skin is soothed and nourished with honey, milk, and soothing aloe vera. Achieving balance, softness, and a natural glow is as simple as using specific targeted kitchen ingredients that appeal to your needs.
Let us check natural facials at home for dry and oily skin –
For Dry Skin:
- Use creams and lotions that are oil based.
- Wash with milk-based cleansers.
- Use scrubs to wash your face skin.
- Use face masks made out of avocado, banana, or papaya.
- Creamy moisturizers work best for them.
Also Read: An Ultimate Guide on Facial Toner Uses & Benefits
For Oily Skin:
- Use gel-based cleansers for the best outcome.
- Use mitti masks for optimal results.
- Prolonged steam clears pores more effectively.
- Light moisturizers are an ideal option.
Final Thoughts
Getting radiant and healthy skin is easy and doesn’t require a trip to the spa. We can achieve that at home with a few simple steps on how to use homemade facial kits with kitchen ingredients. With just a little time and creativity, you can craft your own facial kits using ingredients like honey, turmeric, yogurt, and rosewater. These ingredients provide chamomile-like care, free of any chemicals.
Regularly, these face masks can improve skin circulation, dead cell shedding, hydration, giving you skin that is fresh and healthy. The best part is you have control over what goes on your face. Just get the DIY facial kit ready. It will provide you with relaxing self-care sessions whenever needed. Skin enhancement is no longer a fairy-tale, instead, it is a kitchen stashed ritual waiting to be executed!

