Quick Snapshot
“Still guessing why your skin feels tight, shiny or breakout-prone after cleansing? This 30 second guide helps you spot your true skin type, decode cleanser labels, and pick the right formula so every wash strengthens your barrier and makes your routine finally deliver results.”
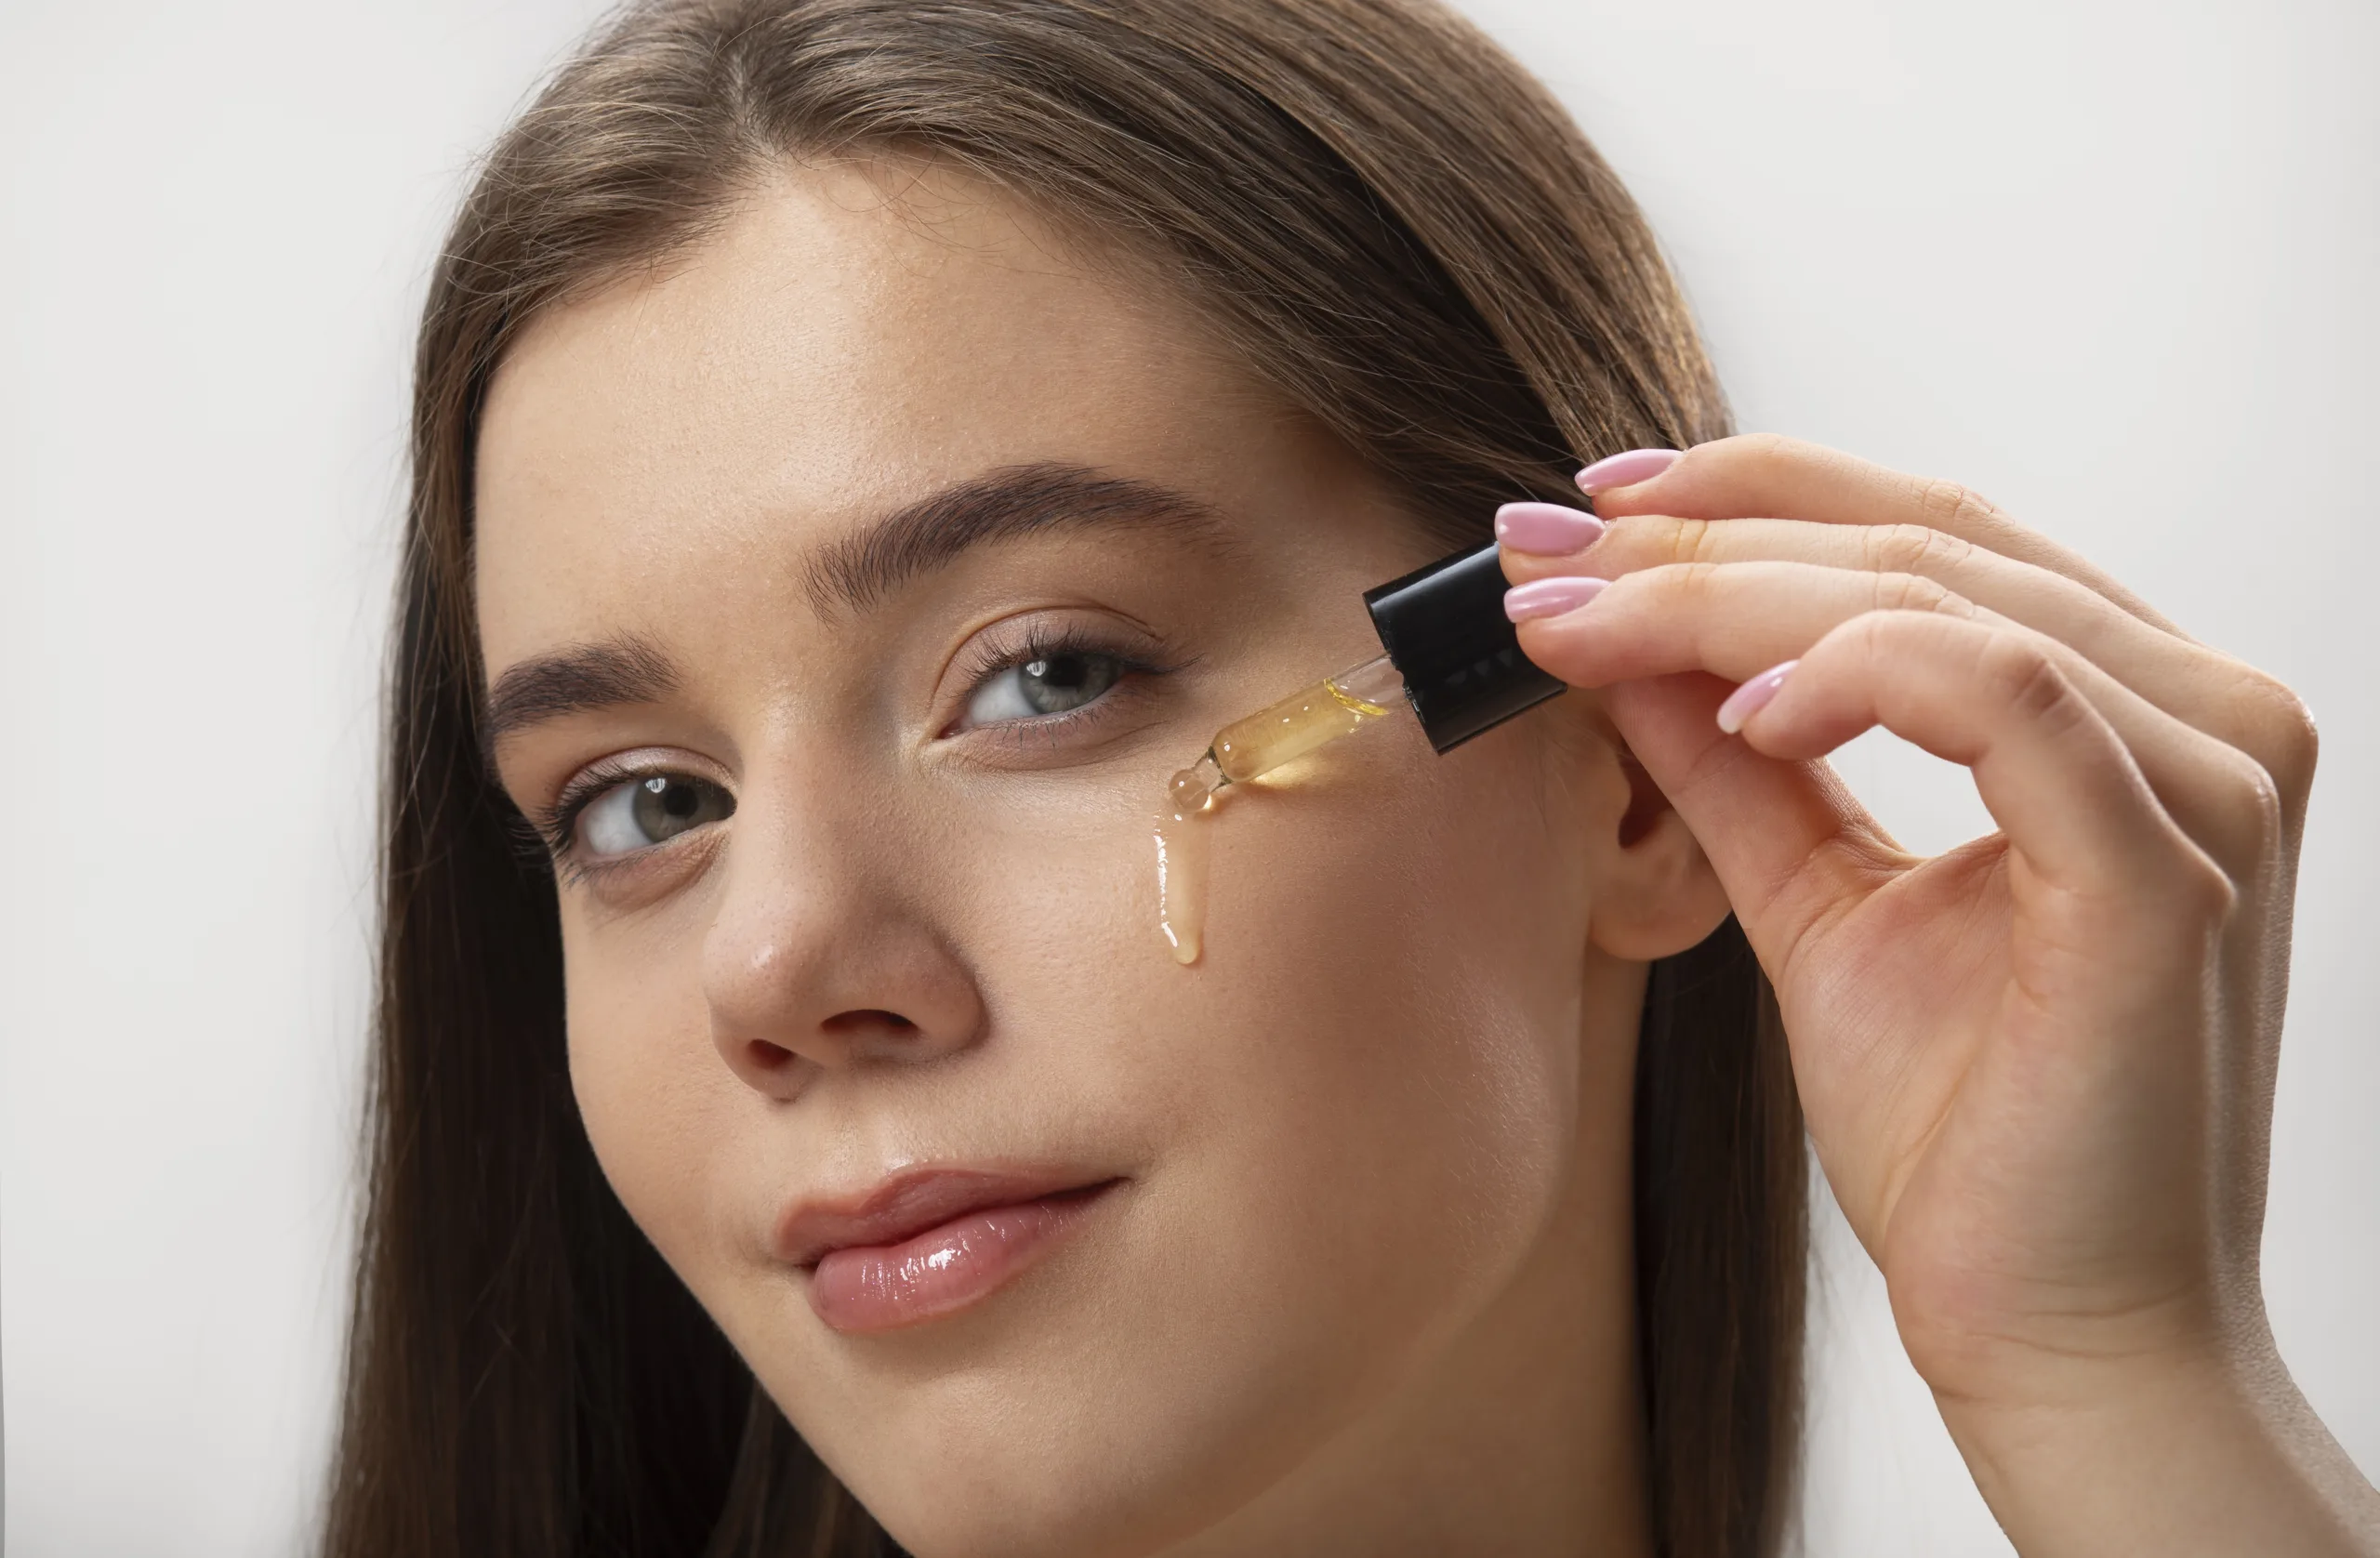
Choosing the right face wash for your skin type isn’t a minor skincare decision. It’s the foundation of your entire routine. The wrong cleanser can silently sabotage your skin barrier worsen breakouts, accelerate dehydration and even make expensive serums ineffective. The right one however, balances your skin, enhances product absorption and sets the stage for long term skin health, especially when hydration matters and a Hyaluronic Acid Face Wash makes cleansing feel comfortable instead of tight.
This guide goes beyond generic advice. You’ll learn how to accurately identify your skin type, decode ingredient labels like a pro understand formulation science and choose a cleanser that works with your skin — not against it.
Let’s begin with the most critical step.
Identify Your True Skin Type Before Buying Anything
Most people misidentify their skin type. They confuse temporary conditions (like dehydration or acne) with their underlying skin biology. That’s where the wrong cleanser is usually purchased.
So as to identify your skin type accurately, clean your face using a mild neutral cleanser, then wait 60 minutes before applying any product. Then observe:
Oily Skin: Shininess on the T-zone or the whole face. Pores appear enlarged. Skin feels slick.
Dry Skin: This is tight, flaky, rough, or appears to have fine lines showing up after cleansing.
Combination Skin: the T-zone mostly produces oil, whereas the cheeks remain comfortable or dry.
Sensitive Skin: Stinging, redness, or irritation are easily instigated by the product.
Acne-Prone Skin: Oiled-clogged pores, blackheads, whiteheads, or swollen breakouts.
Normal Skin: Comfortable, balanced, no excessively dry or shiny.
Why this matters: Cleansers are designed to either de-oil, restore moisture, reduce inflammation, or control bacteria. When you make decisions based on trends rather than biology, you break your skin barrier—and everything else is affected.
When the skin type identification seems overwhelming beyond the cleansing process, follow this guide and identify all the skincare steps that best match your baseline biology: How to buy the best skin care products as per your skin type?
Understanding How Cleansers Actually Work on the Skin
Face washes are based on surfactants, which are cleansing molecules, having a water end and an oil end. Combined with water, surfactants create micelles which capture oil, sunscreen, and grime so rinse water can carry them away. The snag: the formula may strip the skin of protective lipids if left on too long.
The types of surfactants do not act in the same way. Powerful anionic surfactants may leave the stratum corneum empty and exposed, producing excessive foam, and rapidly removing oil. Amphoteric and nonionic surfactants are milder cleaning agents, which can tend to mitigate post-wash tightness and stinging. Foam level is not a good predictor of strength; formulators are able to get skin to foam in mild systems. Instead, pay attention to the way the skin feels after a rinse.
A proper cleanser strikes a balance between three results:
– Good elimination of debris and sunscreen.
– Less damage to the barrier lipids and natural moisturizing factors (NMF)
– Anticipated, comfortable, post-feel (squeak-free, no snugness)
When cleanser “squeaks,” it often signals lipid loss, not superior cleanliness. Consistent barrier-friendly cleansing reduces inflammation signals that can worsen redness, oil rebound and breakouts.
Choosing the Right Face Wash for Oily Skin
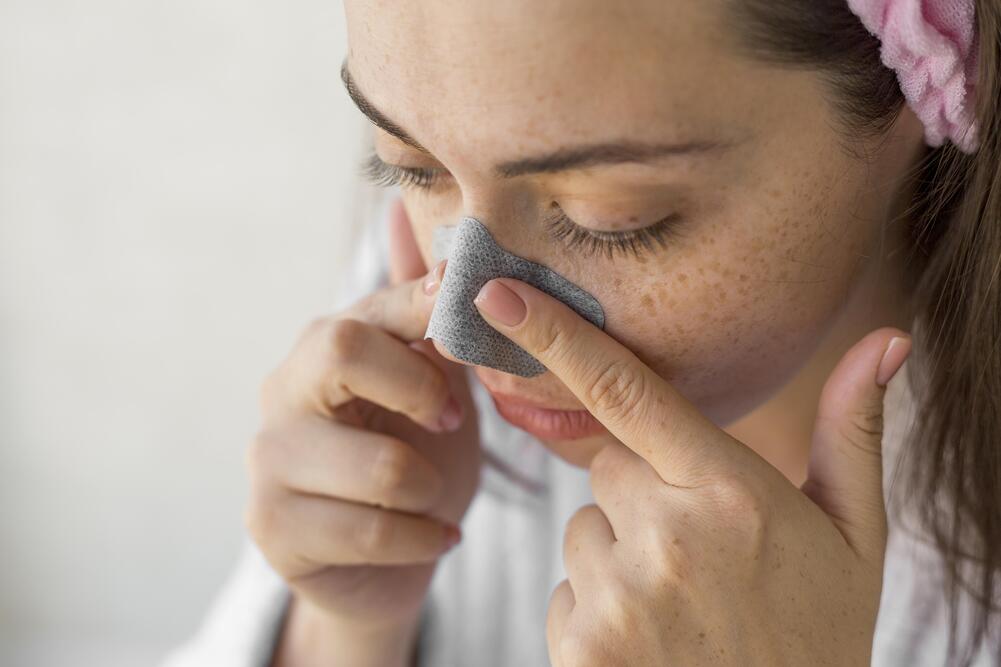
Oily skin secretes too much sebum, which mixes with the dead cells on the skin, oxidizes, and blocks the pores, particularly around the nose, forehead, and chin. This is controlled degradation rather than stripping. In cases where surface lipids are depleted too vigorously, sebaceous glands tend to react by producing rebound oil, which makes them shine within hours.
Select the formula that will not overload but will be comfortable:
Salicylic acid (0.5–2%) is absorbed into oil and loosens the pore congestion, which aids in the removal of blackheads and non-uniform texture.
Niacinamide helps to maintain the balance of sebum in the long run and polishes the pores.
Zinc PCA helps manage shine.
Use a balancing foaming gel or light cleansers to get rid of excess oil without leaving behind residue.
Do not use hard degreasing and heavy fragrance. Rinsing tightness is another typical symptom of over-cleansing that can increase redness and prompt the oil rebound. Oily cream cleansers with residue may also be used to trap oil and debris.
Technique: rinse 20–30 seconds with lukewarm water, paying attention to the T-zone. Wash and apply a light, non-comedogenic moisturizer to prevent dehydration-driven shine.
Choosing the Right Face Wash for Dry Skin
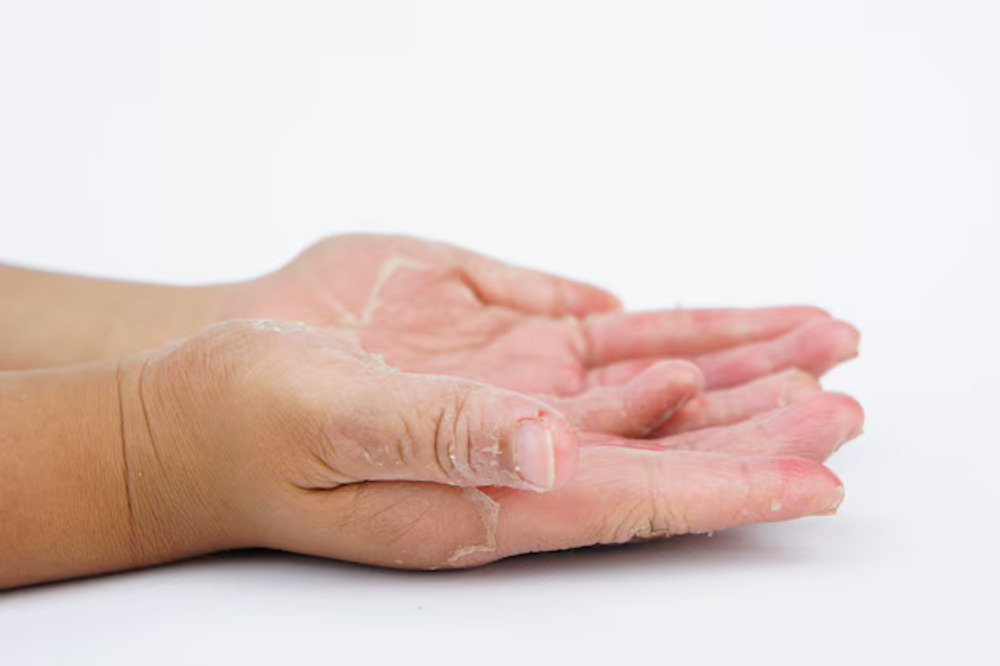
Dry skin does not have enough barrier lipids and has difficulty retaining water. Cleaning may either stabilize that barrier or cause tightness and flaking in a few days. This is because dry skin responds well to the low-lather or non-foaming systems, which remove the impurities and leave the protective lipids.
Prioritize these support ingredients:
Ceramides assist in restoring the lipid mortar that bonds the skin cells.
Glycerin will increase water retention and help to maintain a healthier stratum corneum.
Hyaluronic acid attracts water, especially when paired with occlusive moisturizers afterward.
Oil and skin-similar oils (in moderate doses) do not clog and make skin soft.
Select cream, lotion, milk, or mild syndet cleansers (artificial detergent cleansers that do not raise the pH as high as normal soap). Do not use everyday high-foam cleansers, true soaps, and formulas with high exfoliating acid. The frequent use of aggressive surfactants enhances TEWL, thus revealing fine lines and roughness.
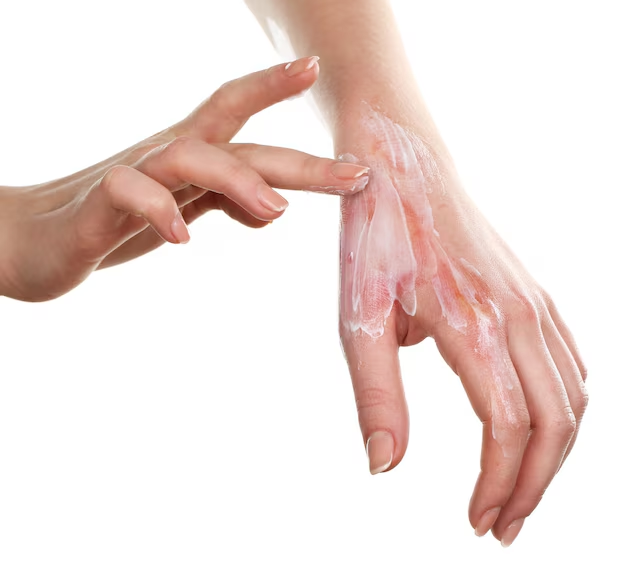
Dry-skin strategy: wash the skin only once a day at night, focusing on eliminating sunscreen and pollution; in the morning, wet the skin with water if necessary. If your skin is dry—avoid rubbing—and apply moisturizer immediately to lock in hydration while skin remains slightly damp.
Choosing the Right Face Wash for Combination Skin
Combination skin requires a cleanser that does not impose any extremes, that is, respecting regional differences, i.e, oilier T-zone and drier or normal cheeks. An aggressive cleanser on the forehead over-dries the cheeks, and a rich cleanser on the cheeks over-congests the T-zone.
A good match uses a mild gel or low-lather cleanser with balanced surfactants and light humectants. Look for:
– Glycerin for hydration support without heaviness
– Low-dose salicylic acid if blackheads cluster in the nose and chin
– Niacinamide for long-term oil balance and smoother texture
Instead of switching cleansers constantly, use one stable daily cleanser and add targeted strategy when needed. For example, use the same gentle cleanser daily, then introduce a salicylic-acid cleanser 2–3 nights per week, focusing application on the T-zone and using only the gentle cleanser on the cheeks.
Cleansing method also helps: lather lightly, apply first to oilier areas, then sweep remaining product across cheeks for a shorter contact time. This approach prevents “two-faced” outcomes tight cheeks and still-shiny forehead—by controlling oil where necessary without provoking dryness elsewhere.
Choosing the Right Face Wash for Sensitive Skin
When the immune response becomes hyperactive or the barrier becomes weaker, the skin becomes more sensitive. Numerous instances are sensitization, a broken barrier caused by over-exfoliation, harsh cleansers, perfume, or the replacement of products regularly instead of a lasting skin type. Washing should minimize triggers and help to recover.
Choose cleansers with:
– No fragrance (not unscented, which also may have masking fragrance).
– Brief, concise lists of ingredients.
– Calming agents such as panthenol, allantoin, colloidal oatmeal, beta-glucan, or ectoin.
– Ultra-mild surfactant systems (quite common in micellar gels, milky cleansers, or syndet cleansers)
Essential oils, menthol, strong acids, and high-foam sulfate systems should be avoided. These additives have the capacity to give a clean feeling and elevate redness and burning. And do not cleanser-hop, either—sensitive skin is better with regularity.
Patch testing eliminates failures: 2–3 days of applying cleanser on a small area of the jawline daily will prevent whole-face application failures. Use only warm water; cleansing should not exceed 30 seconds, and skip morning cleansing if needed. If you need to remove the makeup, a soft first stage (oil or balm) and a light water-based cleanser will be used to minimize rubbing.
Choosing the Right Face Wash for Acne-Prone Skin
The skin is acne-prone; it clogs easily and inflames quickly. Therefore, the selection of a cleanser should aim to clear congestion and reduce bacteria without causing irritation. Excessive cleaning may irritate inflamed follicles into chronic inflammatory lesions.
The following are the effective cleanser actives:
Salicylic acid to unblock the clogged pores and clear the blackheads and whiteheads.
Short-contact treatment with benzoyl peroxide wash (2.5–5%) to eliminate acne-causing bacteria.
Sulfur to calm inflamed lesions and absorb excess oil.
There is a need for contact time of treatment cleansers. Apply to moist skin for 30-60 seconds and wash. Use active cleansers with a light moisturizer to create a balance; dehydration may slow down healing, and the irritation is enhanced.
Avoid layering multiple strong actives at once. Combining acid cleansers with leave-on acids, retinoids, and scrubs often leads to irritation cycles. Avoid gritty physical exfoliants, which form micro-tears and enhance redness.
Compare the acne distribution: comedonal acne can be treated with salicylic acid, where inflamed breakouts can be treated with some strategic benzoyl peroxide application a few nights per week.
Decoding Ingredient Labels Like a Skincare Professional
Ingredient lists tell the truth; marketing claims sell a mood. Learn to read the label like formulator. Ingredients appear in descending order until the 1% line, after which ordering can vary. The first 5–7 ingredients usually shape cleansing strength, texture and after-feel.
Start by identifying the surfactants. Examples of stronger cleansers often include Sodium Lauryl Sulfate or Olefin Sulfonate high on the list. Milder systems often use Coco-Glucoside, Decyl Glucoside, Cocamidopropyl Betaine or Sodium Cocoyl Isethionate.
Next, check for barrier support: glycerin, panthenol, ceramides, betaine, and soothing extracts (like oat) can reduce tightness. Then review irritant risk: fragrance can appear as Parfum, or as allergen components like Limonene, Linalool, Citral, Eugenol. Sensitive skin benefits when these stay out entirely.
For treatment actives, placement provides clues. If salicylic acid appears near the end, the formula may deliver a light touch rather than true acne-clearing dose. Also watch for “natural” red flags: citrus oils and strong botanicals often irritate despite clean branding.
A smart label read prevents buying a cleanser that fights the barrier every time it touches skin.
The Role of pH in Choosing the Right Cleanser
The normal skin on the face typically sits around pH 4.5–5.5 of acidity, with a surface pH that provides a favorable environment for barrier enzymes, moisture retention, and microbial equilibrium. Excessively alkaline cleansers, including saponified oils used to make traditional soap bars, have the potential to swell the stratum corneum and interfere with lipid processing.
The high-pH cleansing can be so clarifying, as it takes away oil quickly; however, frequent use can make them drier and irritated with uneven texture. It may also disrupt the skin’s microbiome balance, thereby aggravating breakouts in some people.
Select the cleansers marked as pH-balanced or designed with a special purpose for use on the face, especially gels, creams, and syndet forms. Although not all brands indicate pH, authentic soap bars are typically alkaline, with modern facial cleansers remaining more acidic to the skin.
Practical check: skin must feel clean and comfortable after cleansing, no burning, no tightness, and no urge to apply moisturizer immediately, only to get rid of discomfort.
Gel, Foam, Cream, Oil, or Micellar: Which Texture Is Right?
Texture influences how a cleanser interacts with oil, makeup, and the barrier. Choose texture based on both skin behavior and daily needs.
Gel cleansers suit the oily and combination skin well since they are easy to wash off and leave the skin less shiny.
Foaming cleansers can suit oilier skin when the surfactant system remains mild; excessively stripping foams tend to cause tightness and rebound oil.
Cream and milk cleansers support dry, mature or sensitized skin by reducing surfactant load and leaving a soft after-feel.
Oil or balm cleansers dissolve sunscreen and long-wear makeup efficiently through “like dissolves like.” They are applied to all skin types, provided the formula emulsifies and rinses off. If you’re unsure whether you actually need a two-step cleanse on heavy sunscreen or makeup days, read: Double Cleansing: Is It Essential? Dermatologists Answer.
Micellar waters cleanse light makeup and dirt with the least amount of friction using micelles suspended in the water, so they work well on sensitive skin and travel.
Routine compliance is another area that is influenced by texture. A cleanser that is easy to use and rinse with is used regularly, which in many cases is a better way to achieve the effect than to pursue the latest-trended actives. In case of sensitive or acne-prone skin, low-friction textures should be prioritized to minimize skin rubbing and barrier disruption, and stronger cleansing textures should be used only on high-sunscreen or heavy-makeup days.
Common Mistakes That Ruin Your Cleansing Routine
Cleansing is mostly unsuccessful due to the technique, rather than the quality of the product. A number of errors silently sabotage outcomes:
– Hot water removes the lipids and causes redness; use lukewarm water.
– Over-cleansing more than twice per day increases dryness and irritation; wash less often in cases of tightness or inflammation of the skin.
– Inconsistent contact time matters for active cleansers; active cleansers, which should be treated, require 30-60 seconds to act, yet severe cleansers must be removed.
– Switching cleansers too often does not allow the barrier to settle; use a cleanser for 2–4 weeks unless it provokes immediate irritation.
– Daily physical scrubs may be micro-irritating and stressful on the barrier; either reduce their use or replace with a softer chemical exfoliation, depending on skin sensitivity.
Check the hairline and jaw too: breakouts can occur due to shampoo run-off and styling products unless there is cleansing of the areas. Wash carefully, don’t scrub harshly, and maintain the habit for predictable skin.
Final Thoughts: Choosing Smart, Not Trendy
The most appropriate face wash for your skin type is that which leaves your skin clean, relaxed, and comfortable- not dry, rough, or scratched. Find out what type of skin you have, and apply a cleanser profile that fits your skin type, and stick with it. Once cleansing feels easier, the other parts of your skincare will also become more efficient. Ready to upgrade? Audit the cleanser on your sink today, swap in a better match and watch your routine start working harder. If irritation persists bring the label to a dermatologist—will you choose hype or harmony.??
Frequently Asked Questions
Q. How often should a face wash be changed?
A. Switch to a cleanser when irritation or congestion does not improve in 2–4 weeks. Switching so often does not allow any stability and complicates the detection of triggers.
Q. Can a face wash replace exfoliation or acne treatments?
A. A salicylic acid-based cleanser can be used to maintain the situation; however, its limited contact time reduces its effectiveness. Use leave-on treatments for persistent acne or texture concerns.
Q. Why does skin feel oily after using a “deep cleansing” face wash?
A. Excessive stripping causes the skin to adopt overcompensation by producing more sebum. Rebound oil and shine can be decreased by using a gentler pH-balanced cleanser.