With winter approaching the door, the countdown to Halloween, Christmas, New Year and even Valentine’s Day is underway. Even the wedding season is just around the corner. Unsurprisingly, you would be planning your party makeup look for the upcoming wedding, party and festive season. But with the cold months wreaking havoc on our hair and skin, getting ready for the party night seems like an uphill task. Moreover, festivals’ celebrations share their parts of damage too. Worry not! This party season, enjoy your best makeup look with our best beauty tips and be party-ready. These before party beauty tips will not only help you apply your makeup steps but also give you glowing skin from within.

Glam Up Gallery shares the sassy secrets to keep your skin looking sparkling best this party season 2022-2023
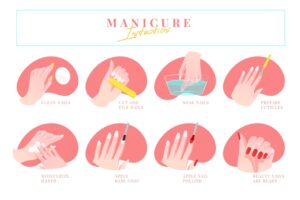
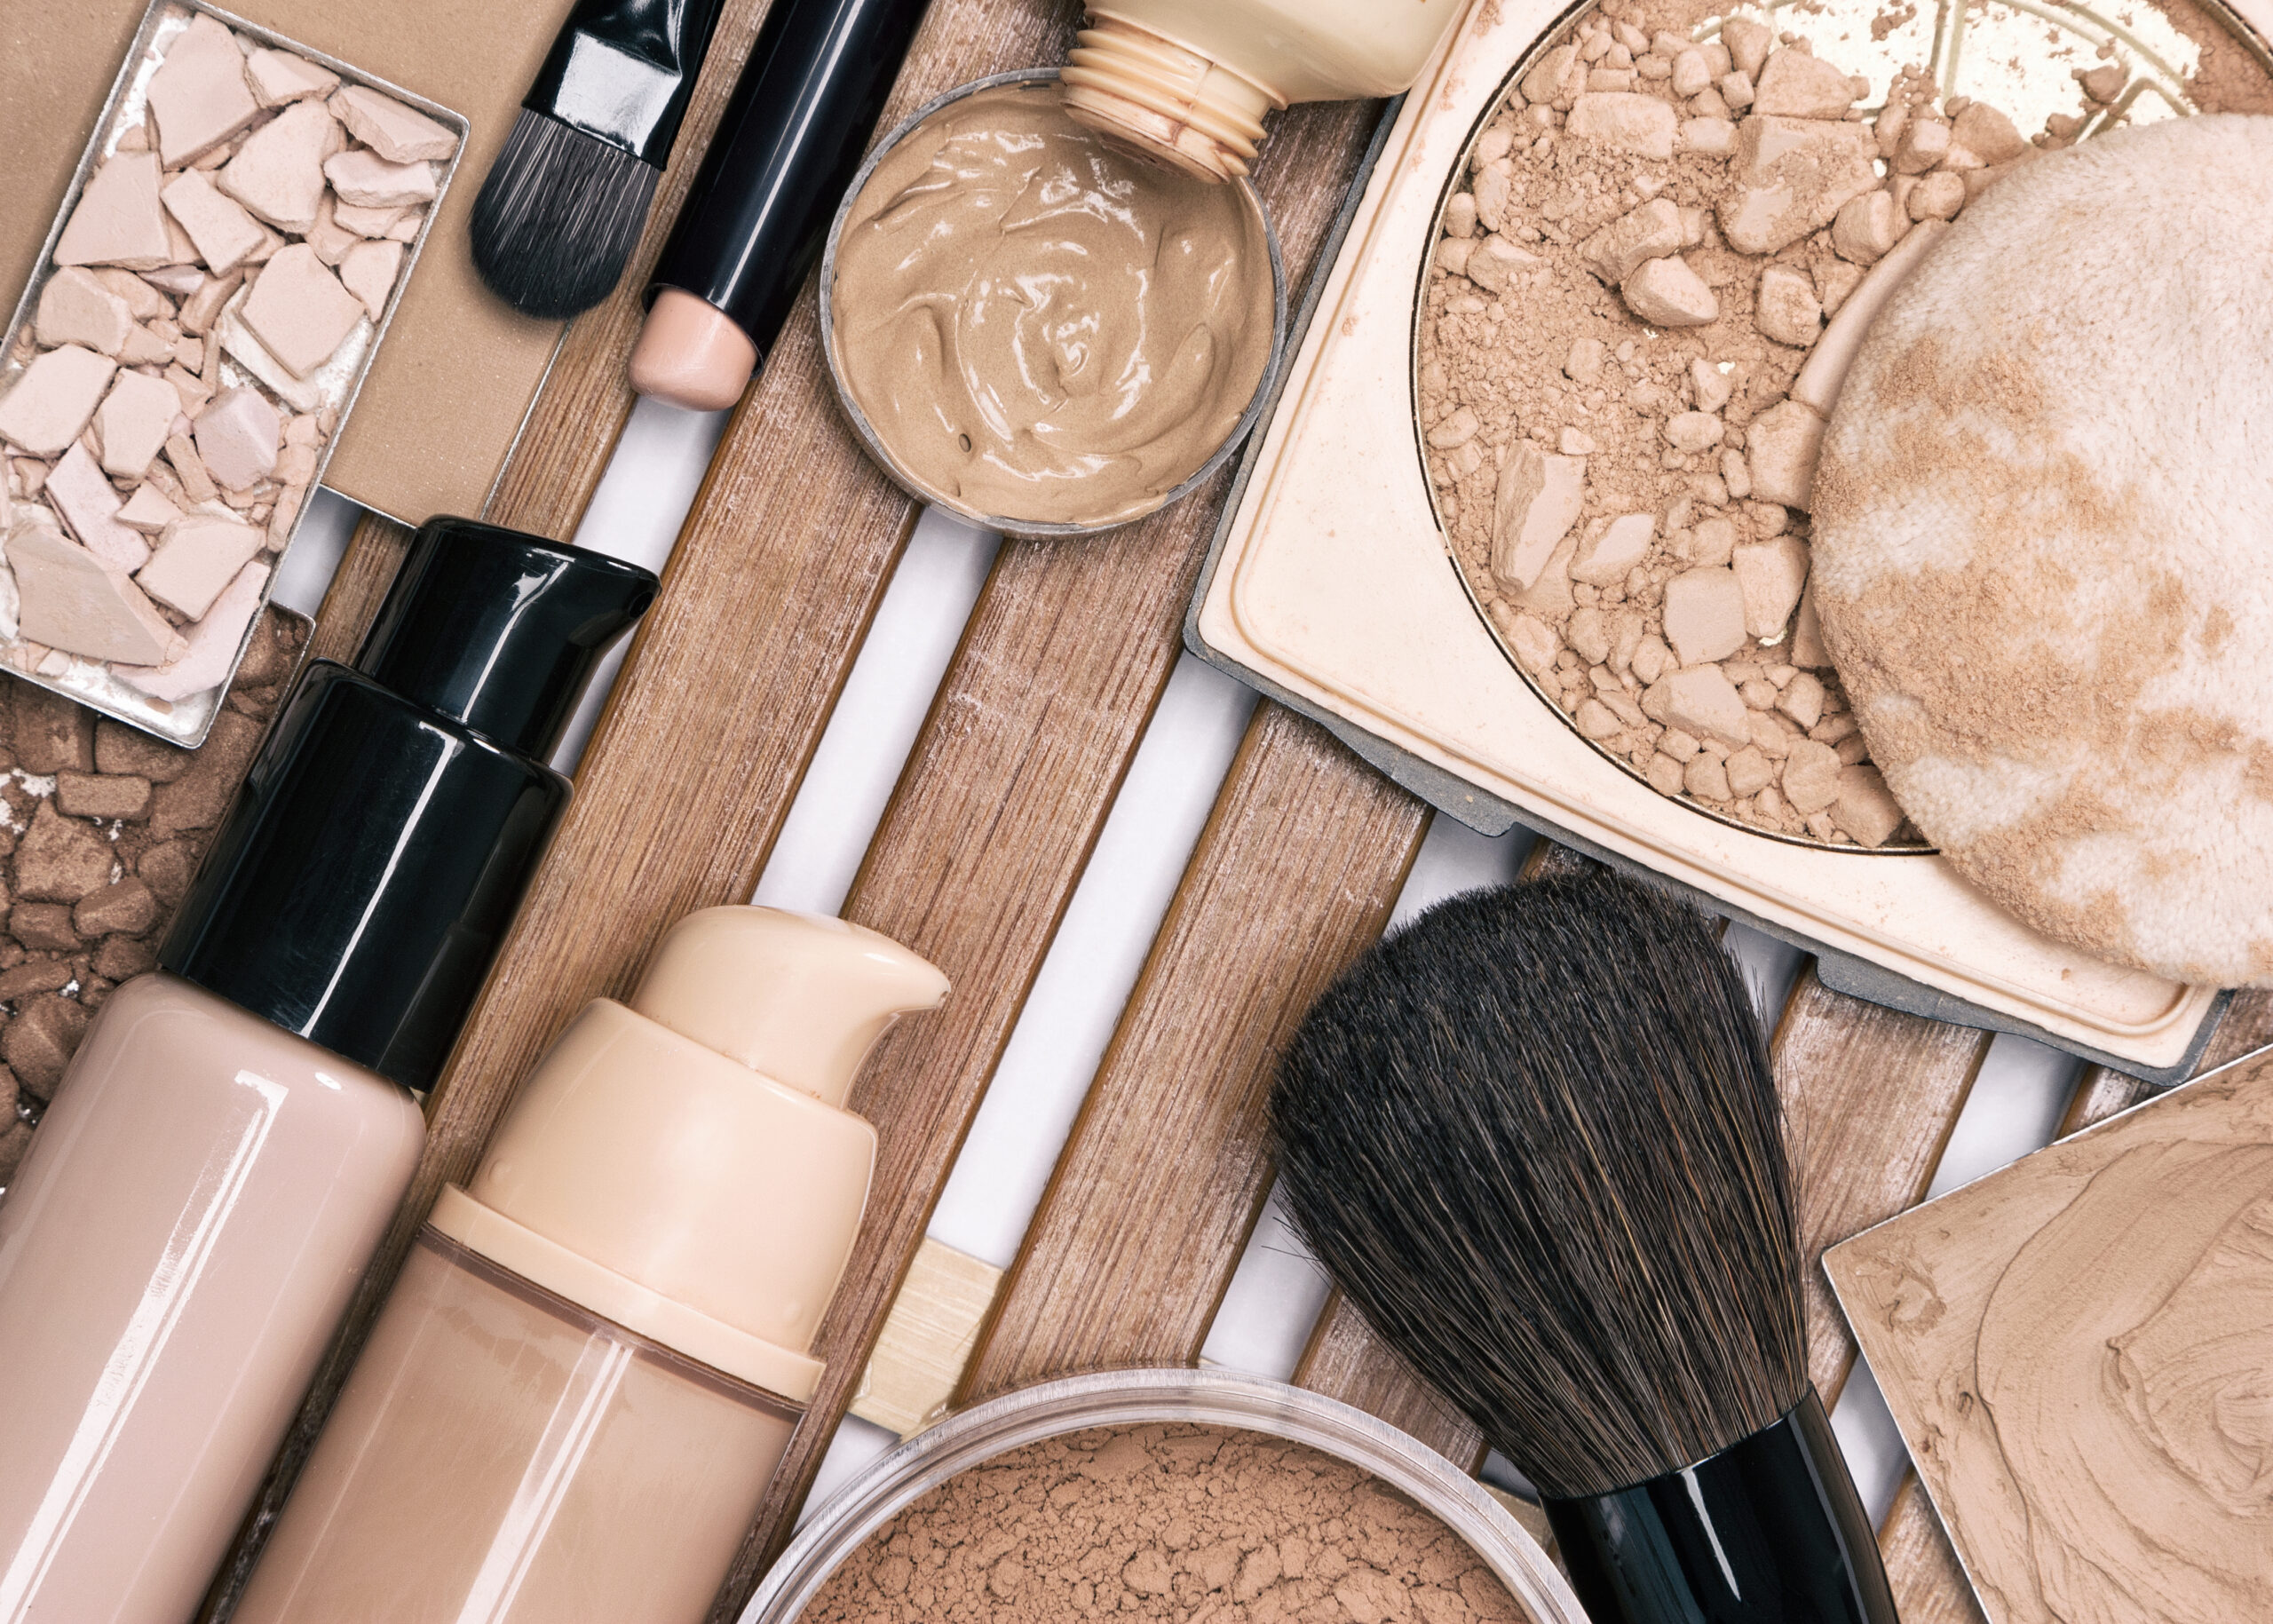
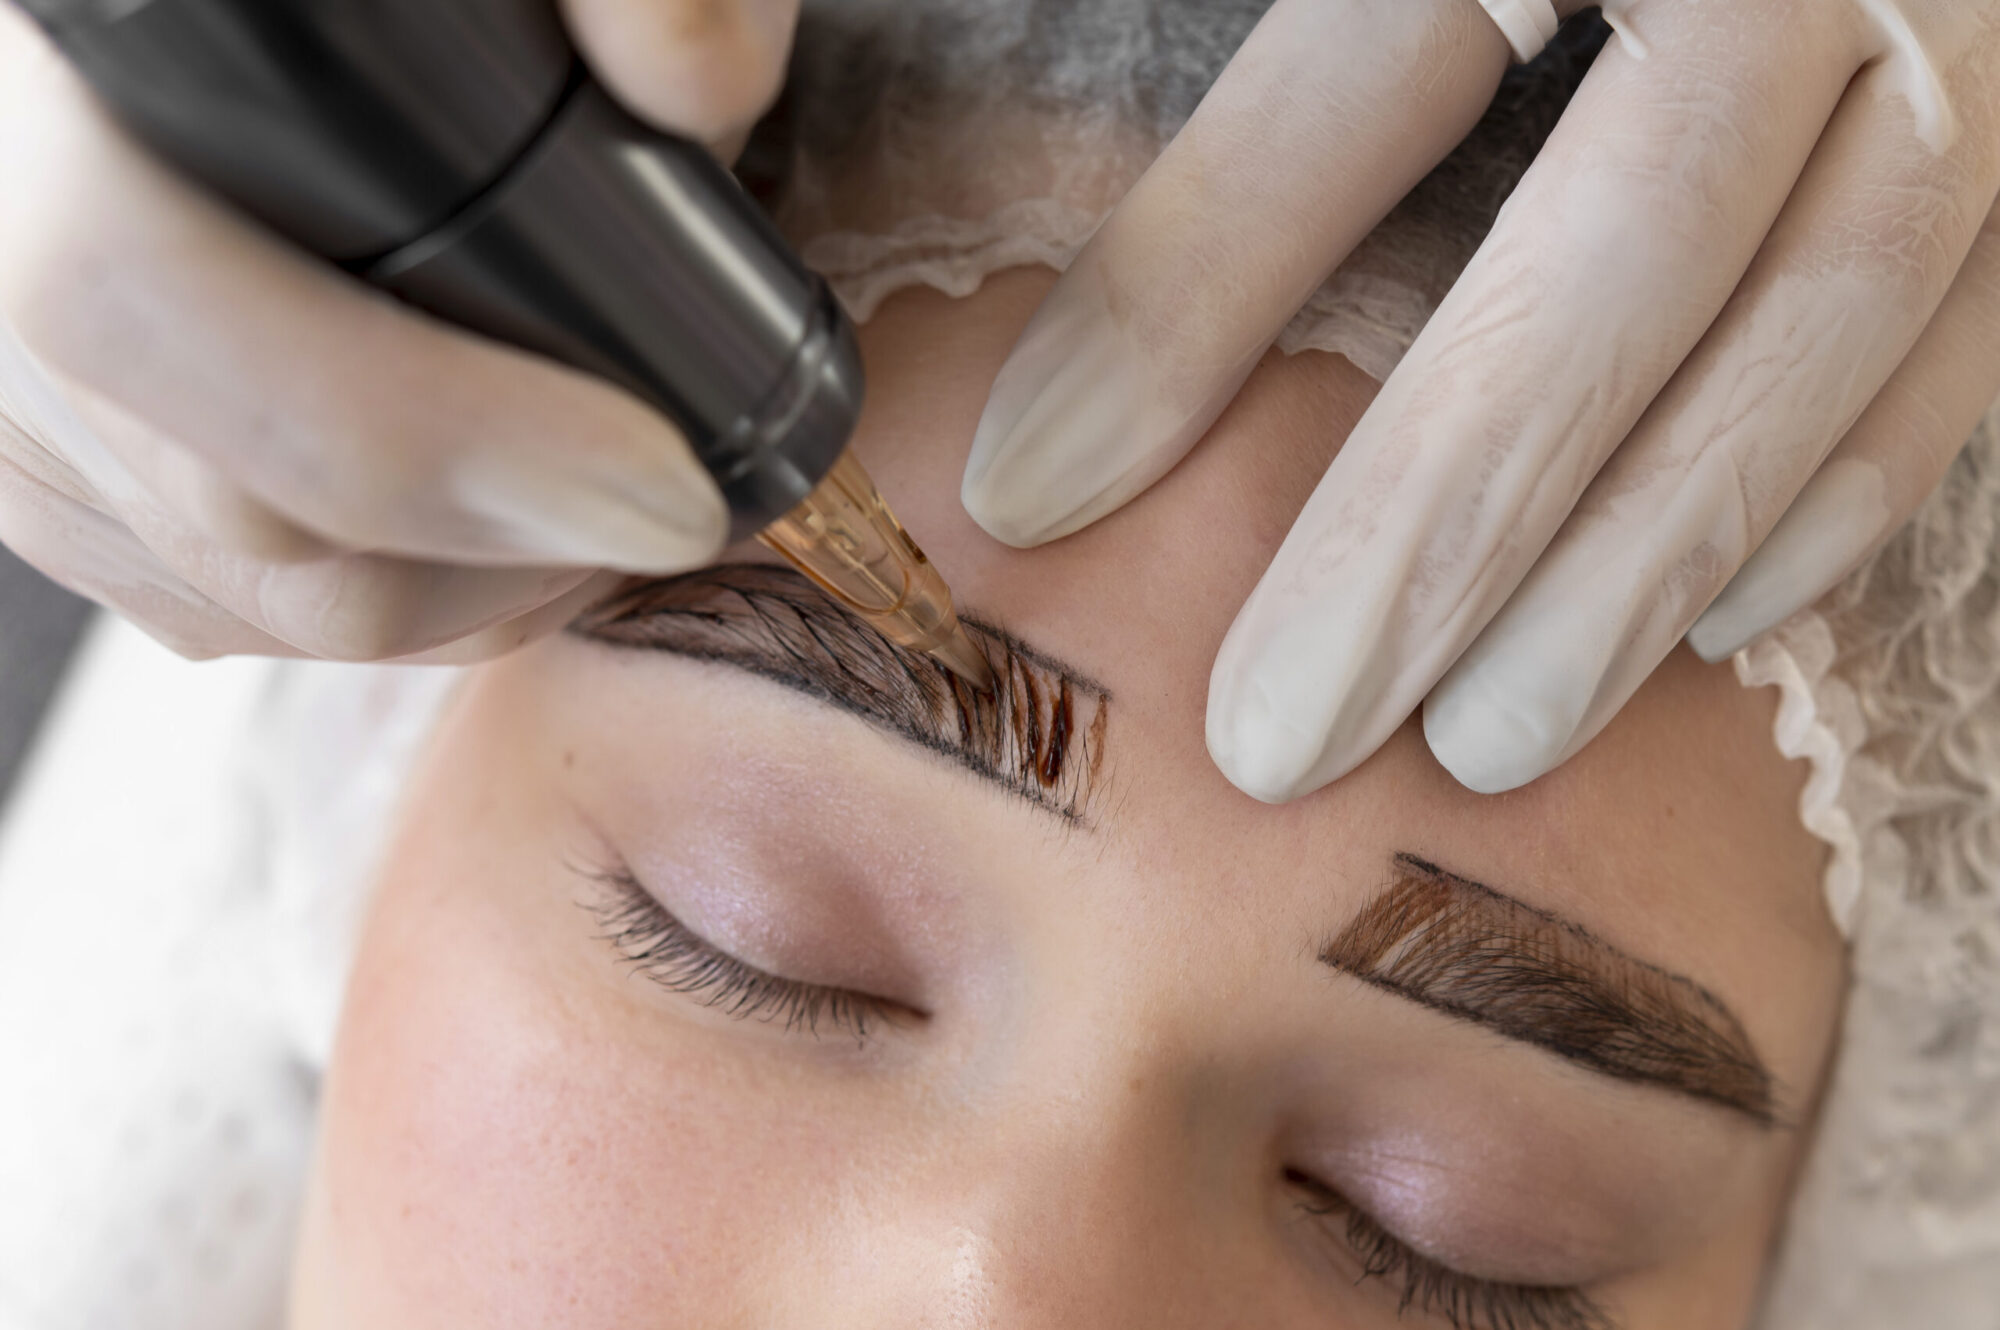
1. Party makeup look
Party makeup plays the most important role to look your best on any party night, be it wedding day, Christmas night or New Year’s Eve. So, make sure to follow all the steps of makeup rightly. If you don’t know how to apply makeup step by step, check out Glam Up Gallery’s previous post on how to apply makeup like a pro step by step. It is one of the best makeup tutorials for beginners.
The best beauty tip for party makeup is to apply your eyeshadow before you wear foundation and other makeup products. It will prevent your eyeshadow powder from falling on your face and getting a flawless makeup look.
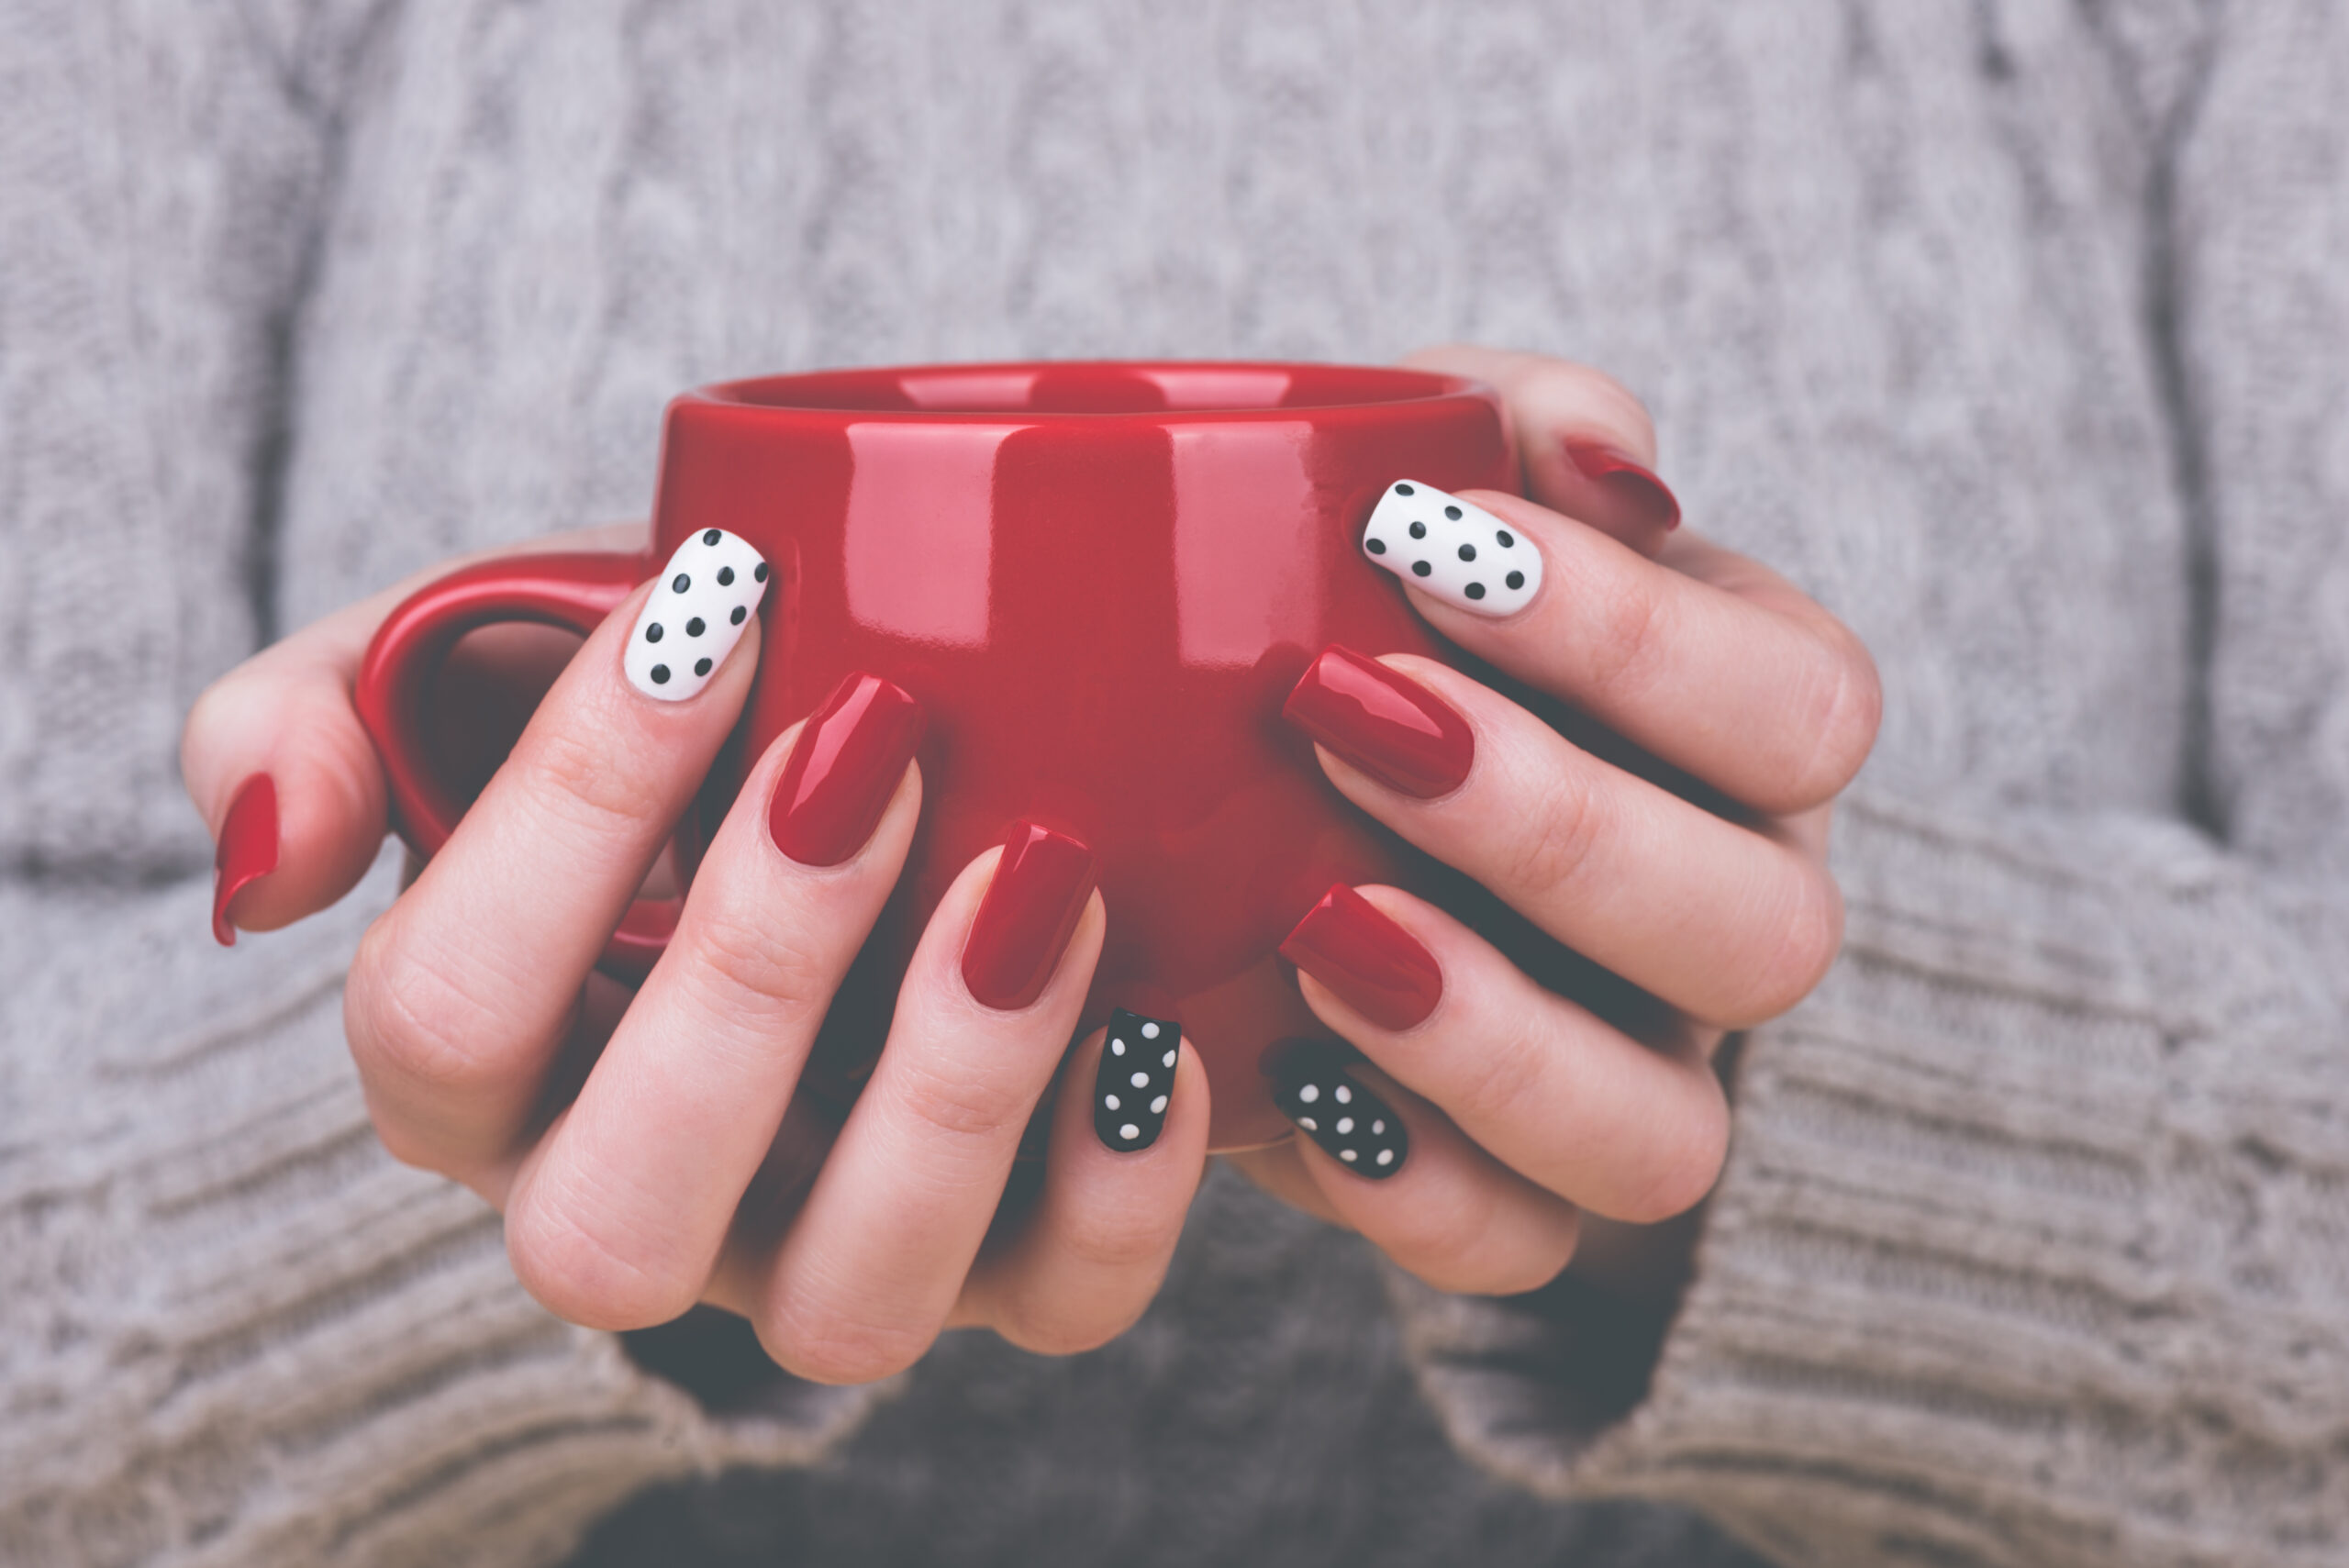
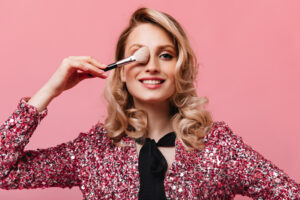
2. Let your lips do the talking
To glam up your Christmas party makeup look or any such occasion, slather some sparkly gosh on your eyes and pout. It will surely bring you some cheer on Christmas night.
Here the best beauty tips for party season 2022-23 is to limit your eating, drinking and kissing practice when going with sparkly lips. So, weigh up your priorities before going for a glittery pout.
Related Article: Lip Care – Be kiss ready.
3. Eye massage to brighten up the look
With all those partying nights at Weddings, Halloween, Christmas, New Year etc., even young eyes look puffy and tired. To make sure your party makeup looks alive and bright on the party night, give yourself some eye massage to get rid of puffy eyes.
The best beauty tips for eye massage are to start from the eye’s corners and work your way up whilst slightly moving your hands until you reach the outer edge of the eyes. Repeat the process for the lower lash line too.
4. Flat tummy for festivals
“FLAT TUMMY FOR FESTIVALS” – Sounds good but unachievable! Right? For many of us, a flat tummy is a distant, priceless dream that is hard to come true. Yet, we share some self care tips and tricks that make a flat tummy achievable.
Before you start your party, take some aloe vera juice or peppermint capsules. These are the two best ingredients to support the digestive system and prevent bloating, resulting in a flattened tummy. Also, you can cut on your certain food intake that causes bloating and gas. Your Christmas dress or party costume will look just stunning on you when you have a flat belly.
Related Article: How to lose belly fat
5. Hairstyles for festive season
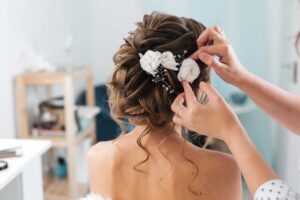
The festive season or party season is such a frantic time that you will barely end up with the energy to find the perfect hairstyles for Christmas 2022. So, it is best to amp up yourself with the best hairstyles for festive season in advance so that you can master your Christmas look with the best hairstyle of your choice.
The beauty tips for hairstyles for festivals is to go for a regular hair spa during the party season to maintain your hair health and prevent damage done due to excess sweat and unusual routines.
Related Article: Hairstyles for festive season
6. Cope up with alcohol
Nothing can prevent you from sipping a mojito, prosecco or even a glass of beer on a festive or party night. You love it, but your skin doesn’t. Long nights, cold days and excessive drinking can leave your skin dull, dry and dehydrated. To make your skin glam despite all the chills and endless flow of drinks, your daily moisturizer will not be enough to combat the damage.
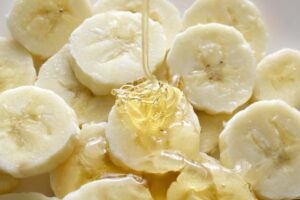
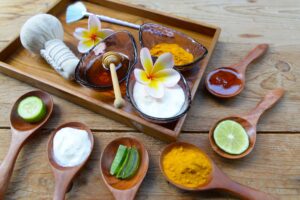
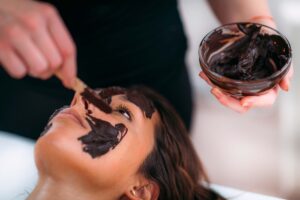
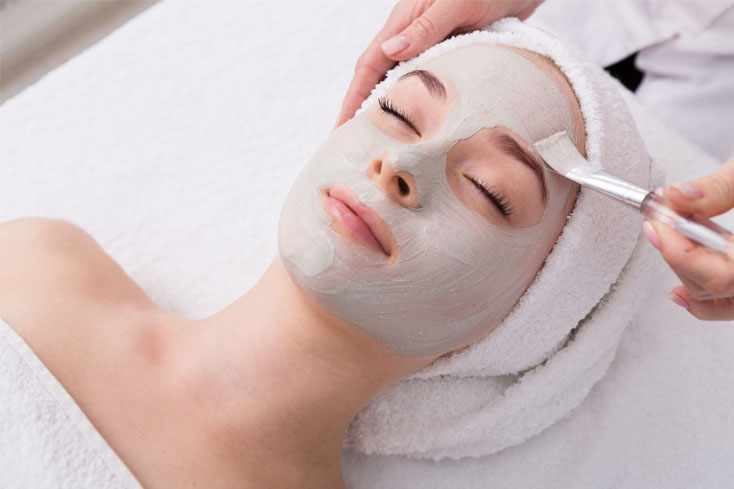
So, what are the beauty secrets to combat alcohol? Well, add some beauty products to your skin care routine that contain hyaluronic acid or alpha-hydroxy acids. Alternatively, you can try homemade face masks for skin brightening that help firm up skin, destroy dead skin skills and moisturize the skin. Also, drink a minimum of 8 glasses of water a day; it will help you stay in good lieu to tackle your hangover too!
Related Article: Homemade face masks recipes

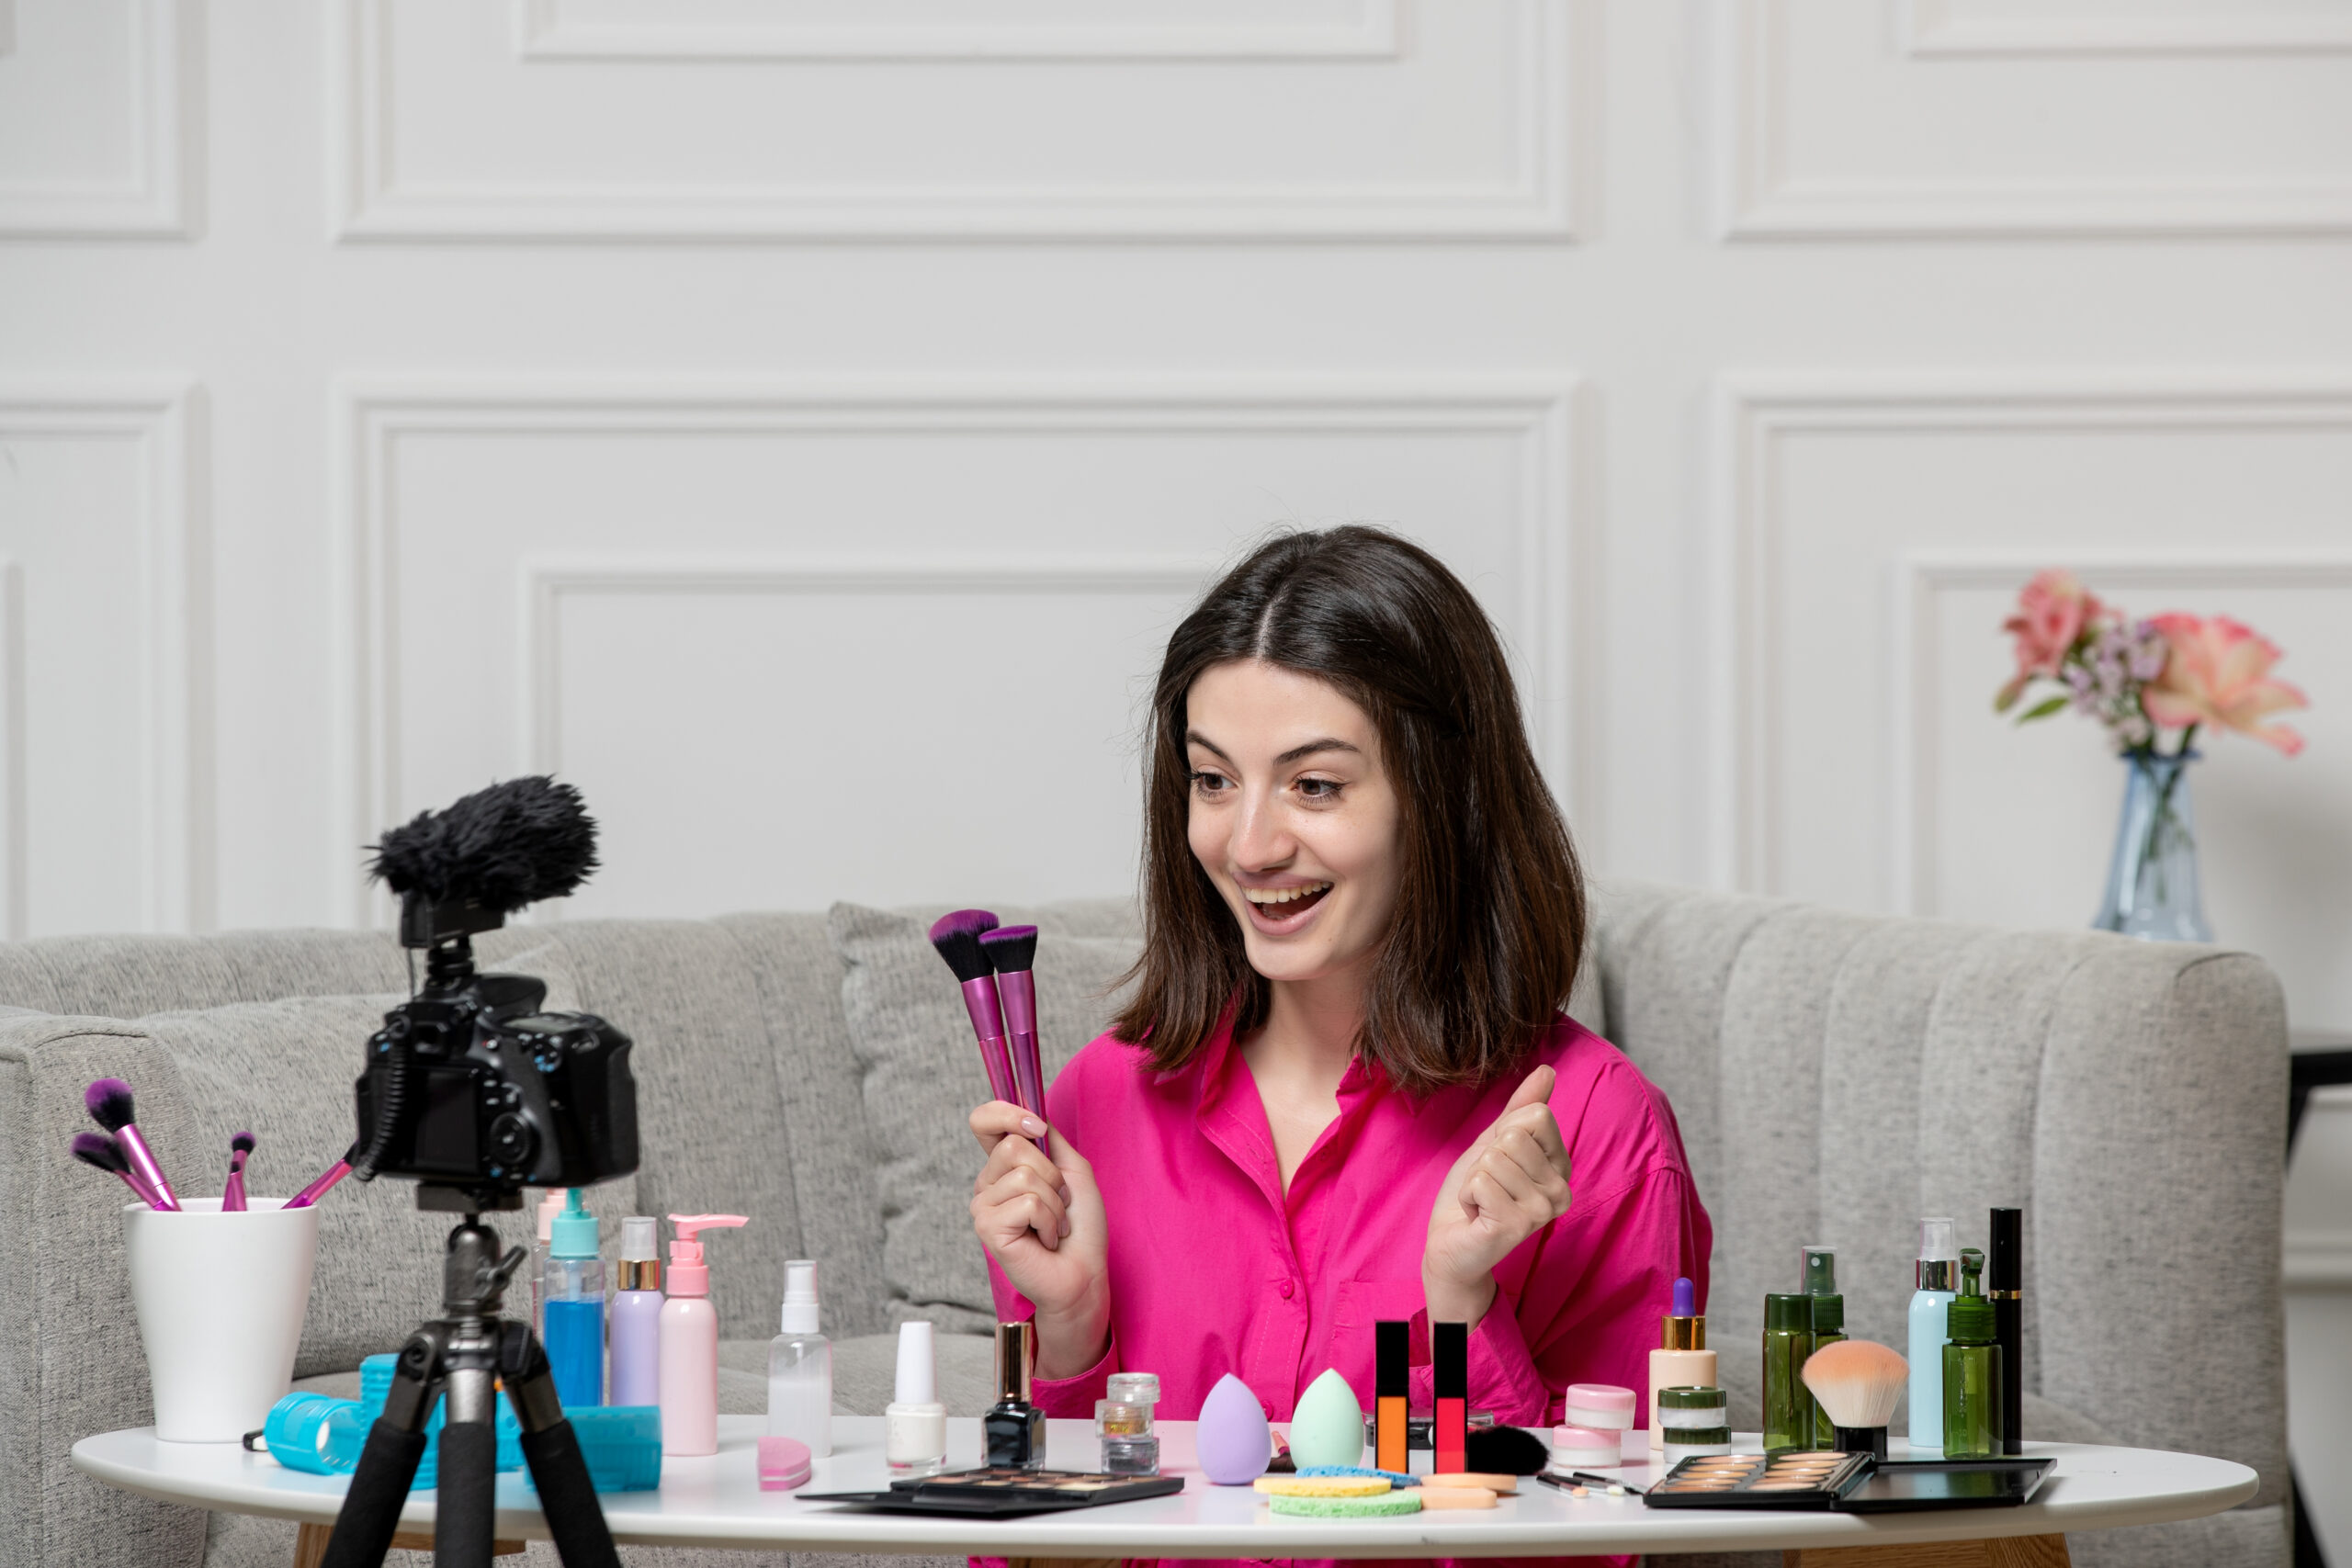
7. Eat right to look right:
When you start party season at the end of the year, it is obvious to forget about your New Year’s resolution to ‘EAT HEALTHILY AND DRINK RIGHT’. You will easily let all your healthy eating plans jump out of the window as New Year is approaching, and you are all set to make new resolutions. Right?
Treats are fine! Chocolates are good even drinking could be okay. But don’t miss to combat the loss by taking healthy food full of proteins, vitamins and other nutrients. Alternatively, you can also count on food supplements to ensure you get enough nutrients your skin needs to glow.
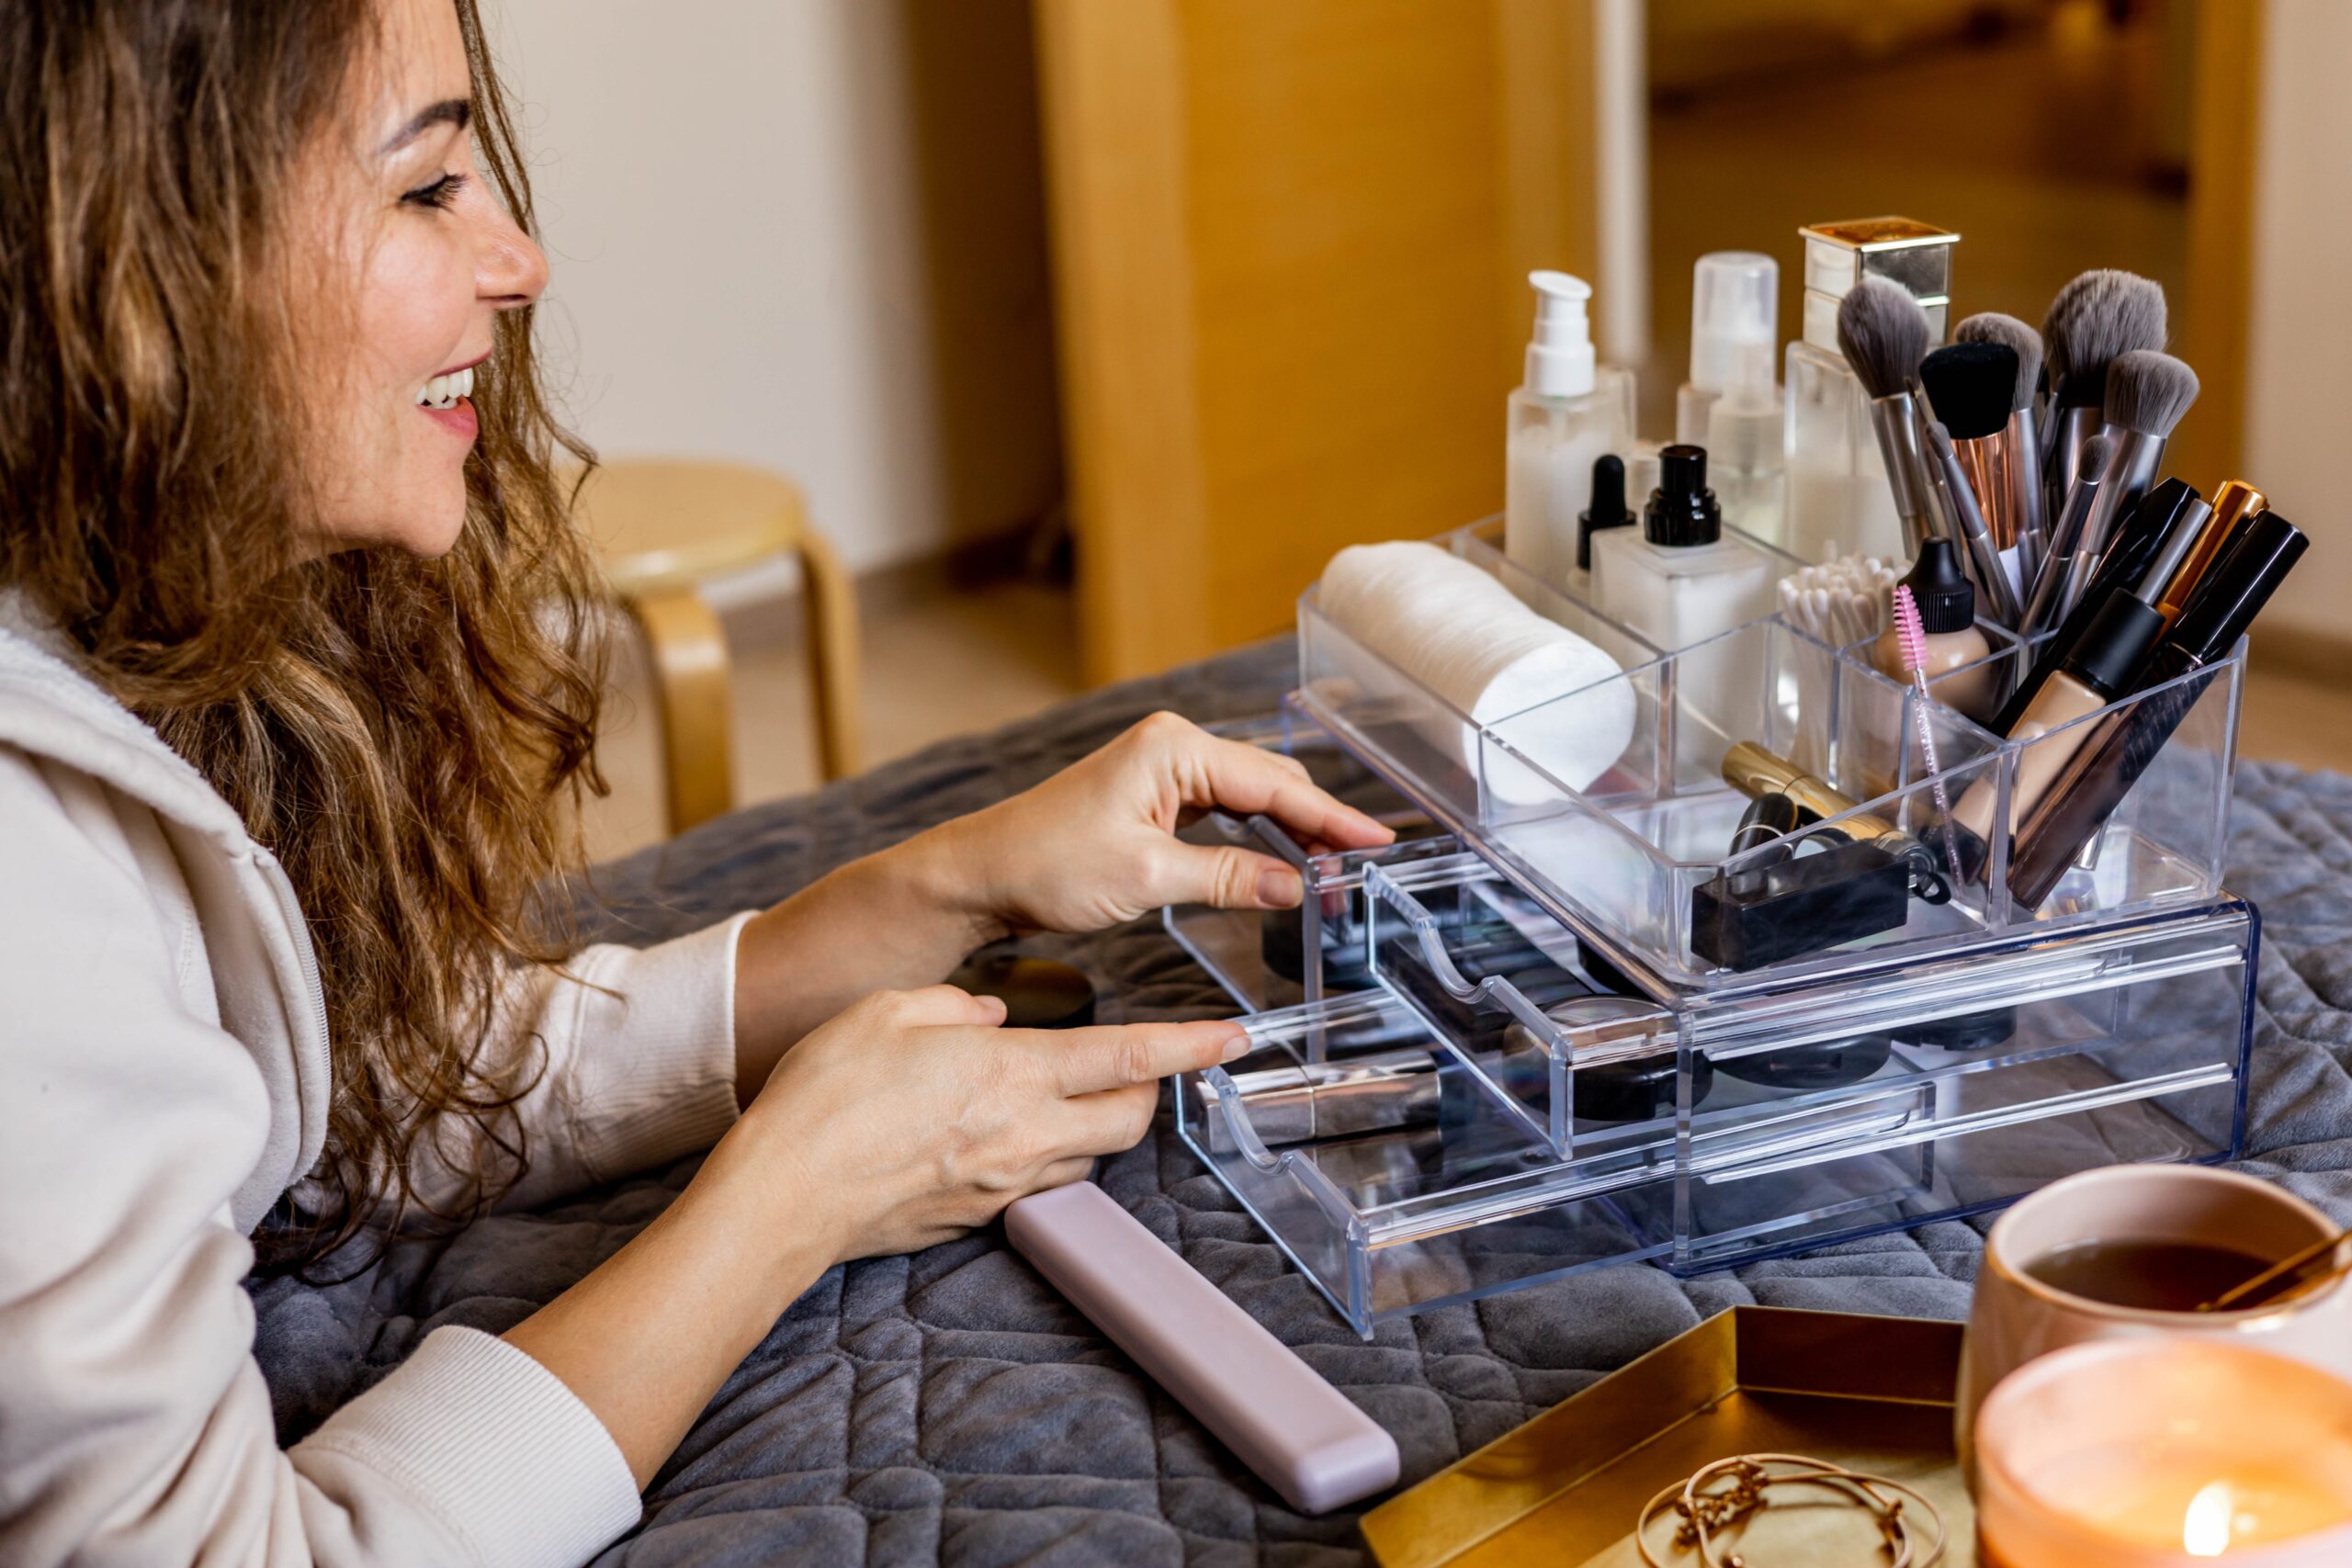
8. Wipe off the makeup
We understand, after a long tiring day at the party and dancing all night, nothing seems more tempting than to roll straight into bed. But one more step, don’t miss your CTM routine. CLEANSE, TONE and MOISTURIZE your skin well before you go into bed. After all, you have to keep your skin glowing for New Year 2023 too. After all, a breakout after Christmas night to ruin your New Year Eve look won’t be your choice.
No matter if you are heading out to glitzy parties to meet your best buddies or driving home for the festive season to meet family, you always want to look your best. So, with these 8 best beauty tips for Wedding, Party and Festive Season, your makeup will look all set for those happy moments.
Glam up with these beauty tips and be selfie-ready!
Ta-da gorgeous!