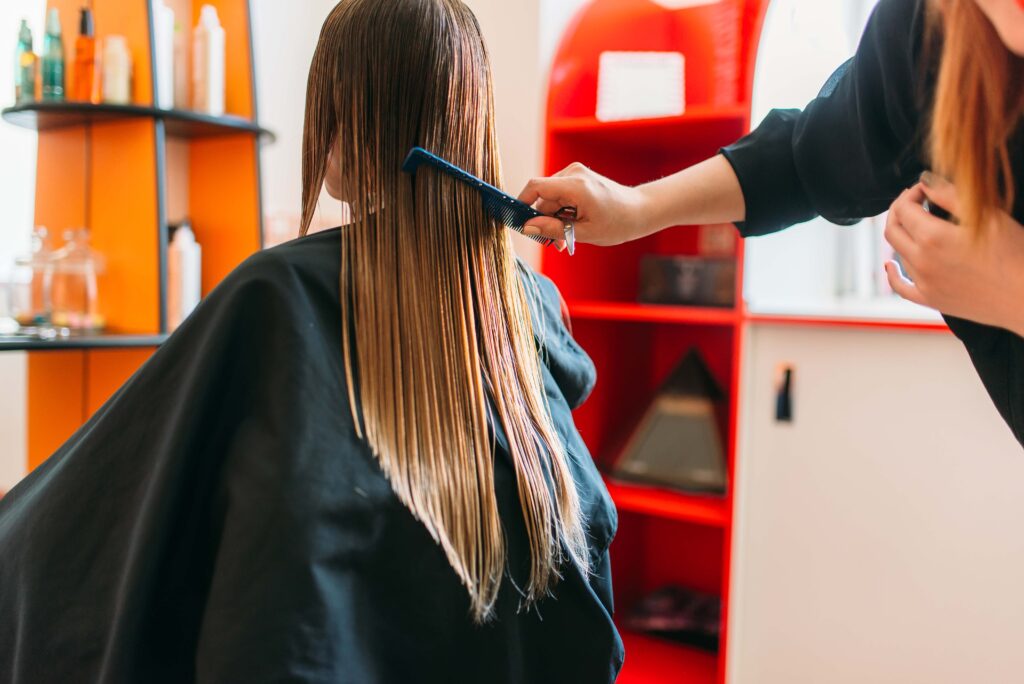
You can either straighten or curl your hair (depending on your hair type) to dramatically change your hairstyle and surprise your friends and family. You’ll have to spend a lot of time and energy straightening your curly hair. Some people hesitate to straighten their hair (fearing damage), while others never risk doing so. By using the right techniques, equipment, methods and the best tips on straightening curly hair, you can easily dispel these fears. There are some ways you can straighten your hair without damaging it.
Related Article: 8 Trendy Hairstyles for Festive Season 2022 – Approved by Bollywood Celebrities
Let’s begin.
Curly hair: What do you need to know?
 There are different types of textures in curly hair, and it is important to understand them before making it straight. Hair that is curly, wavy, or coily comes in three forms. Often, coily hair is harder to straighten than curly or wavy hair. It is also important to choose the right hair straightener for curly hair carefully so that you can easily and safely straighten your curly hair.
Follow these steps to get started.
Tips on Straightening Curly Hair: How To Do It
Step 1: Shampoo your hair gently
It is more difficult to maintain a smooth and full curl when you have curly hair, so it is recommended that you use a gentle shampoo and a deep conditioner that offers nourishing moisture. To prepare your hair strands for the straightening process, wash your hair with lukewarm water and frizz-fighting shampoo. Rinse your hair with lukewarm water rather than hot water to prevent stripping off all natural oils and moisture. To prevent hair damage caused by straightening tools, you should use hair care items that are not harsh on your hair.
Step 2: Untangle knotty and tangled hair
Due to its propensity to quickly lose moisture and become dry, curly hair is unruly and prone to tangling. Before straightening curly hair, always use a wide-toothed comb to untangle it. After all, you do want your hair to be as smooth as possible. Use the wide-toothed comb to gently comb through your hair, starting at the ends and moving up to the roots. It removes knots more successfully and without tugging off your hair. Continue doing this until your hair is free of knots.
Step 3: Straightening Your Locks
Your moist, curly hair must be thoroughly prepped before being straightened with a blow dryer. Applying a heat protectant is necessary before using a blow dryer. Your hair will be shielded from heat harm as a result. It maintains shine and controls frizz while defending against heat up to 450 degrees. But be aware that using too much heat protection will leave your hair limp and sticky.
Step 4: Dry with a blow dryer
If your hair is thick and wavy, blow-drying it might take longer. Divide your hair into sections, then select a blow dryer and a round bristle brush to concentrate on drying one section at a time. Brush the portion down carefully while you blow-dry it. Use the low heat setting on the blow dryer to lessen the amount of heat that is applied to your hair. Make sure your hair is completely dry before continuing on to the next step.
Step 5: Get a hair straightener
Make a tiny section of your hair visible and clip it in place. Your straightener’s heat setting should be low or medium. Once your flat iron has heated up, run it through the hair area. The flat iron should never be used on damp or wet hair.
Step 6: Follow the Chase Method
If your straightener does not produce poker straight locks, you must use the chasing method. Your expectations will be met. You must utilise both a rat-tail comb and a straightener while utilising this technique to straighten your hair. It makes an effort to touch every hair strand while using the least amount of heat possible. Additionally, you should be able to straighten your hair in a single pass using this method.
The rat-tail comb and flat iron should be positioned slightly above your roots. Run the plates through your hair while gently combing it to straighten it. Repeat the procedure until you have silky hair.
Step 7: Spray your hair with hairspray
Use a volumizing spray at the roots of your hair before you straighten each part to make your hair look fuller. When you’re done, use a small amount of hair spray or serum for a glossy appearance (which looks best on thick, coarse hair). Also bear in mind that using too many leave-in hair treatments will result in greasy, heavy hair.
Mistakes To Avoid While Straightening Curly Hair
When straightening your hair, you must avoid making the following mistakes:

- Your hair will have less volume if you blow it backward. While blow-drying your hair, your hairstylist pulls up your roots. Blow-dry your roots first, then the rest of your hair, as a result.
- Make sure you are not using an excessive amount of hair care products before straightening your hair. All you have to do is use a heat protectant to keep your hair from getting damaged. A little goes a long way with styling products. Additionally, if you use too much conditioner, it will make your hair greasy and limp.
- Avoid sleeping with your hair in a fast style. How you sleep on your hair might help or hurt your appearance depending on what you do. Replace cotton pillowcases with silk ones to avoid hair damage.
- Not all hair types tolerate high temperatures well because not everyone has hair that is similar in texture. If your hair is curly, always use a straightener with several heat settings. You should ideally use a low-temperature setting to avoid heat damage to your strands.
- Always keep in mind the proportions of the pieces you are straightening. If your hair isn’t going as straight as you’d want, reduce the size of the amounts you are using. To cut down on styling time, large sections of curly hair can be flat ironed, but the results won’t be optimal.
Conclusion
You can transform your everyday appearance by straightening your curly hair. In some instances, people are concerned that straightening natural hair will harm their hair health. Our article provides a summary of several efficient strategies to prevent heat damage brought on by the operation. If you want to flaunt some beautiful, soft curls, be sure to follow the instructions exactly. Don’t allow your brightness to be stolen by your fear!
Related Article: Best 7 Exercises to Improve Hair Health & Hair Growth
Post Credit: Aakash Shukla, India
Whats up this is kinda of off topic but I was wanting to know if blogs use WYSIWYG editors or if you have to manually code with HTML. I’m starting a blog soon but have no coding knowledge so I wanted to get advice from someone with experience. Any help would be enormously appreciated!