French nail art has been a timeless and elegant trend in the world of manicures. With its chic and sophisticated look, it’s no wonder why it has been gaining the attention of girls for decades. Whether you’re preparing for a special occasion or simply want to elevate your everyday style, mastering the art of French manicure will undoubtedly add a touch of glamour to your overall appearance.
So, if you can’t visit a nail studio to get the art done and want to know how to do French nails at home, this blog is for you. In this blog, we’ll take you through a step-by-step guide to doing French nail art, exploring various design ideas, and providing tips for maintaining your stunning manicure.
Essential Supplies for French Manicure
Before you embark on your French manicure journey, make sure you have the following supplies:
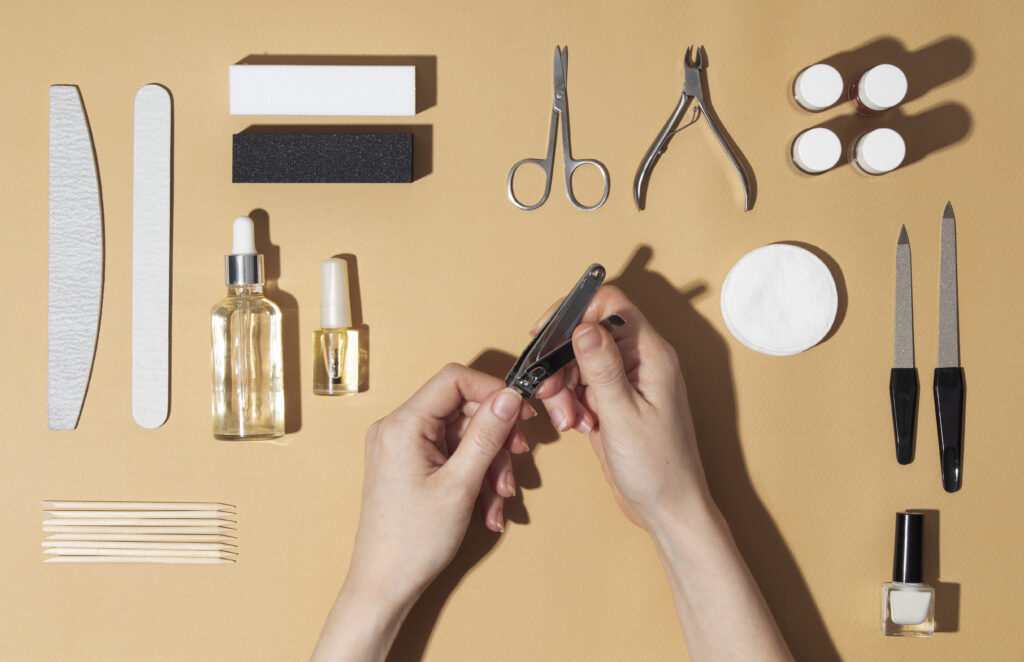
- Nail polish colors (for the tips and the main color)
- Base coat
- Top coat
- Nail polish remover
- Cotton pads or balls
- Nail file
- Buffer
- Cuticle pusher
- Nail guide strips or tape
- Fine nail art brush or dotting tool (optional for designs)
- Accent materials (optional, like rhinestones, decals, etc.)
Step-by-Step Guide to French Nail Art
Before you start doing French nail art, prepare your nails by shaping them to your desired length and filling the edges. Use a cuticle pusher to gently push back your cuticles and create a clean canvas for your manicure. Ensure your nails are clean and dry before starting the process.
Step 1: Apply a Base Coat
A base coat is essential for protecting your nails and creating a smooth surface for the polish. So, don’t forget to apply a thin layer of base coat on each nail and allow it to dry completely.
Step 2: Choose French Tip Style
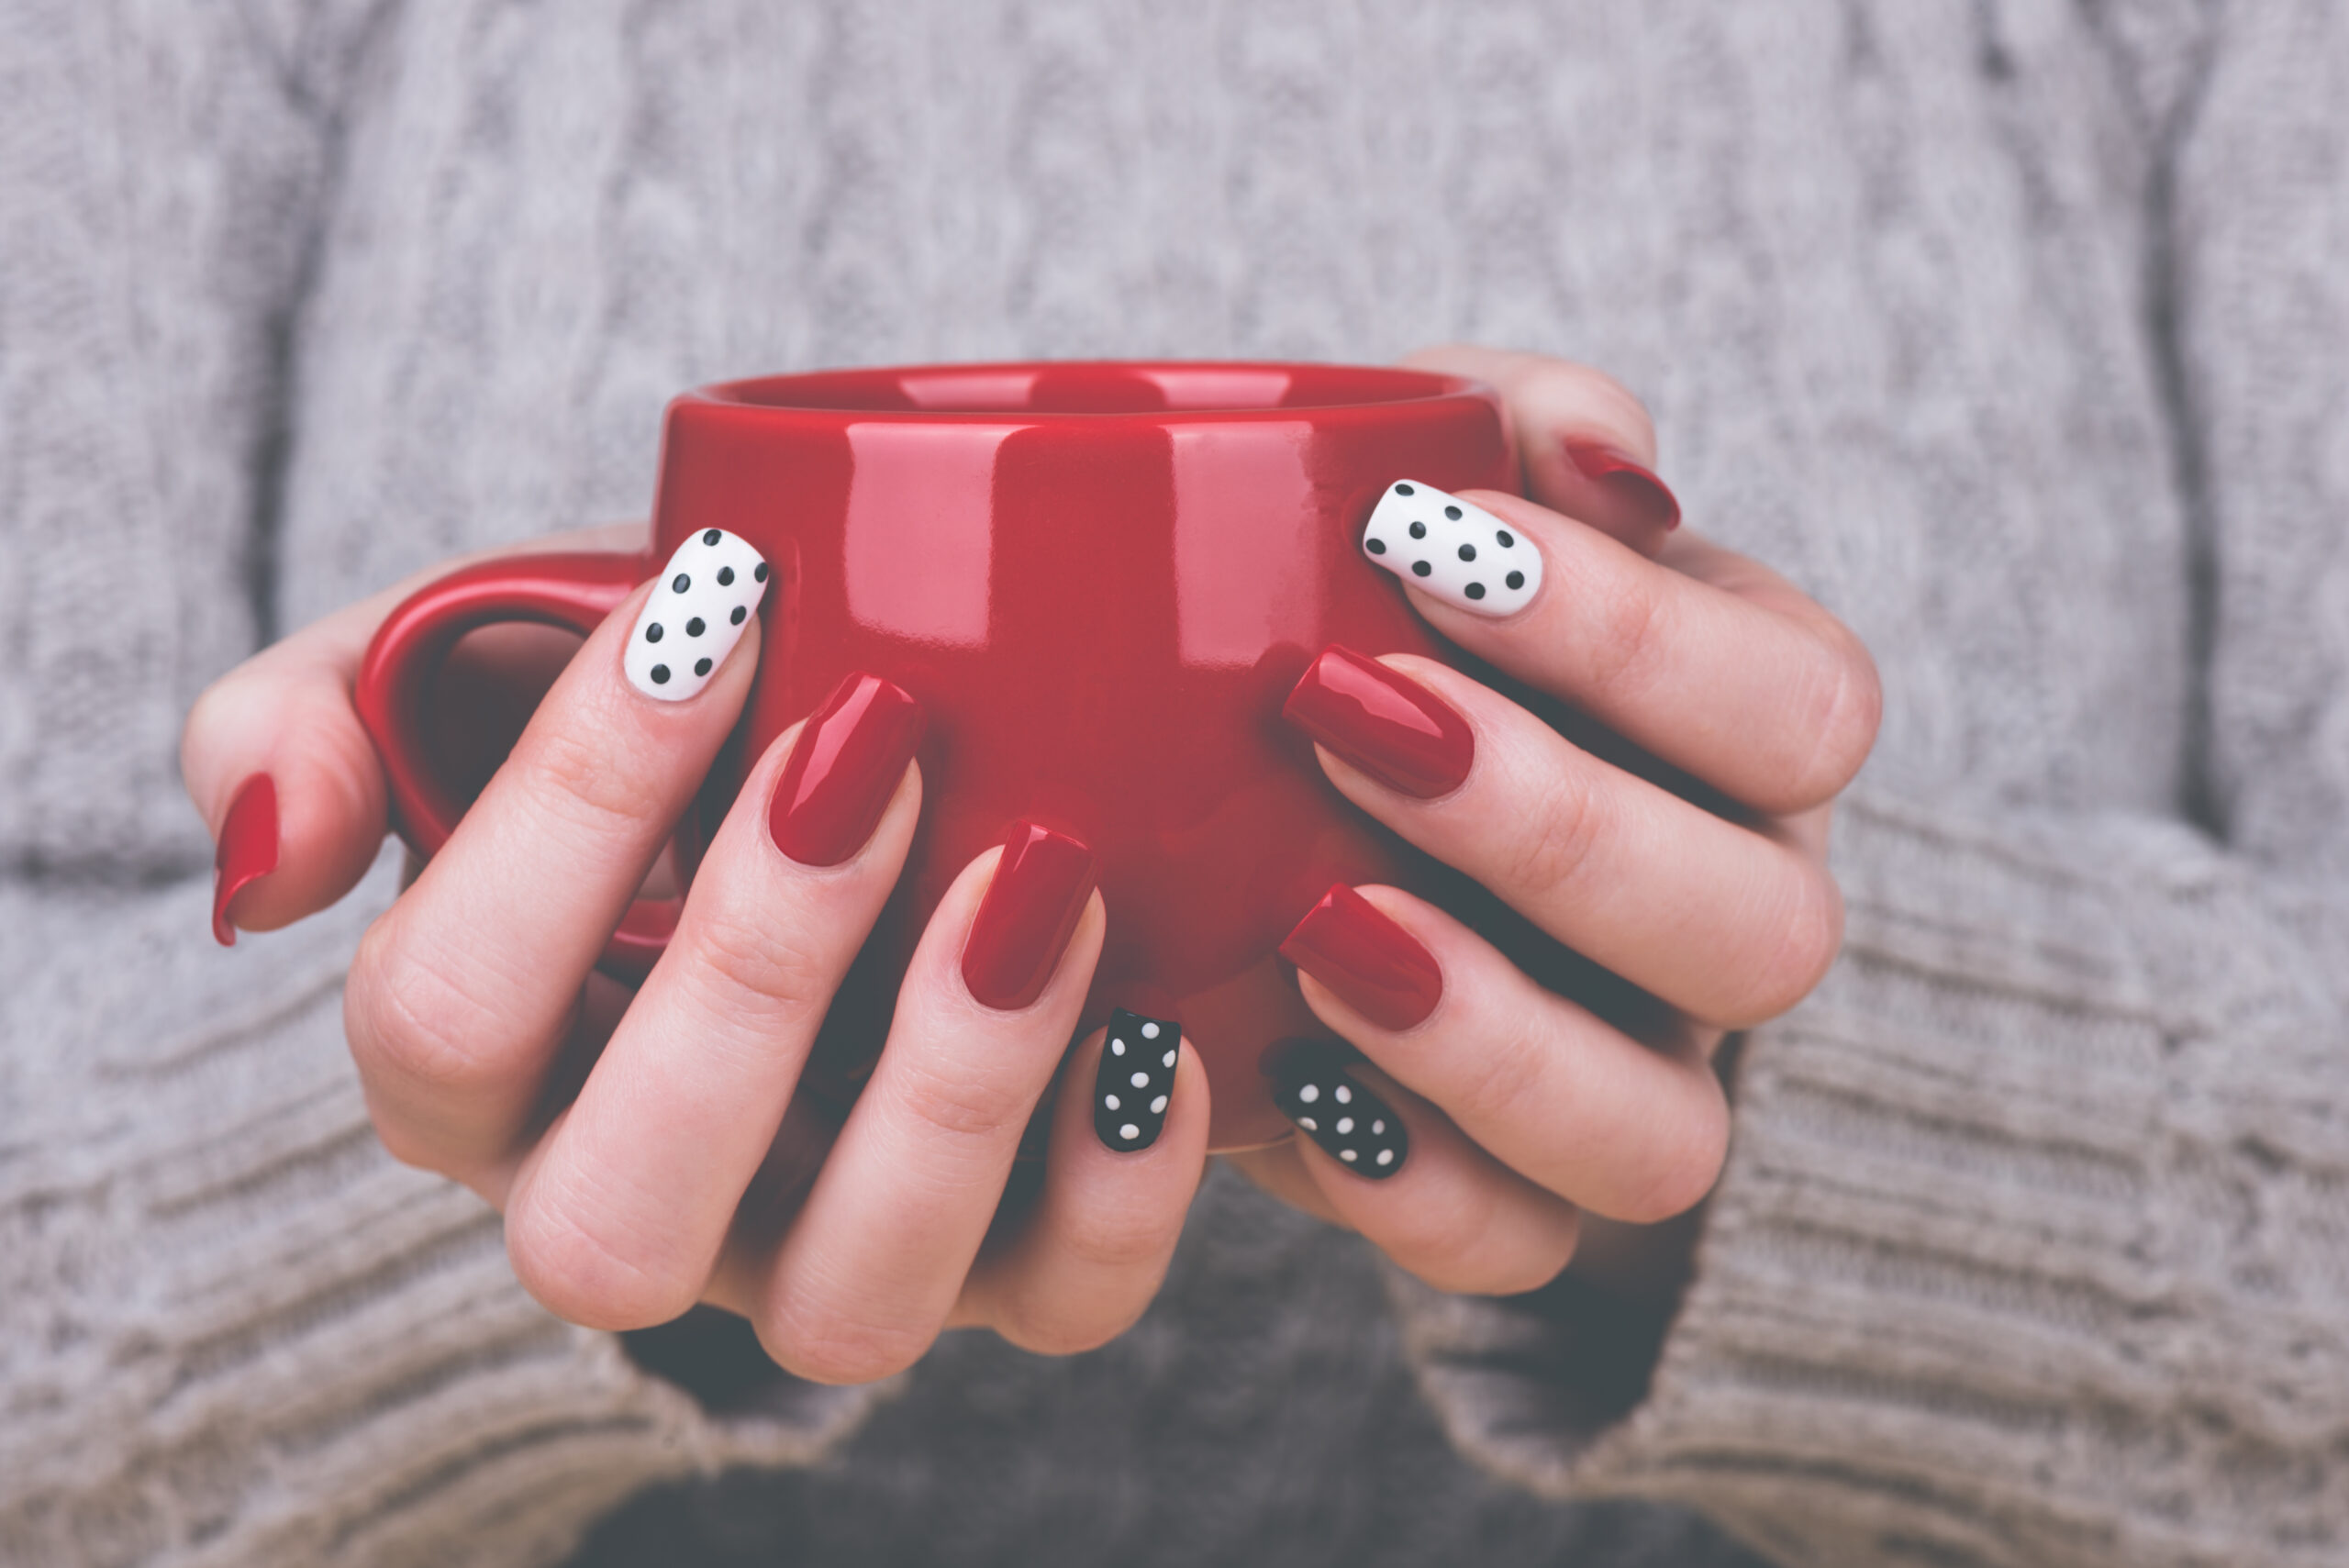
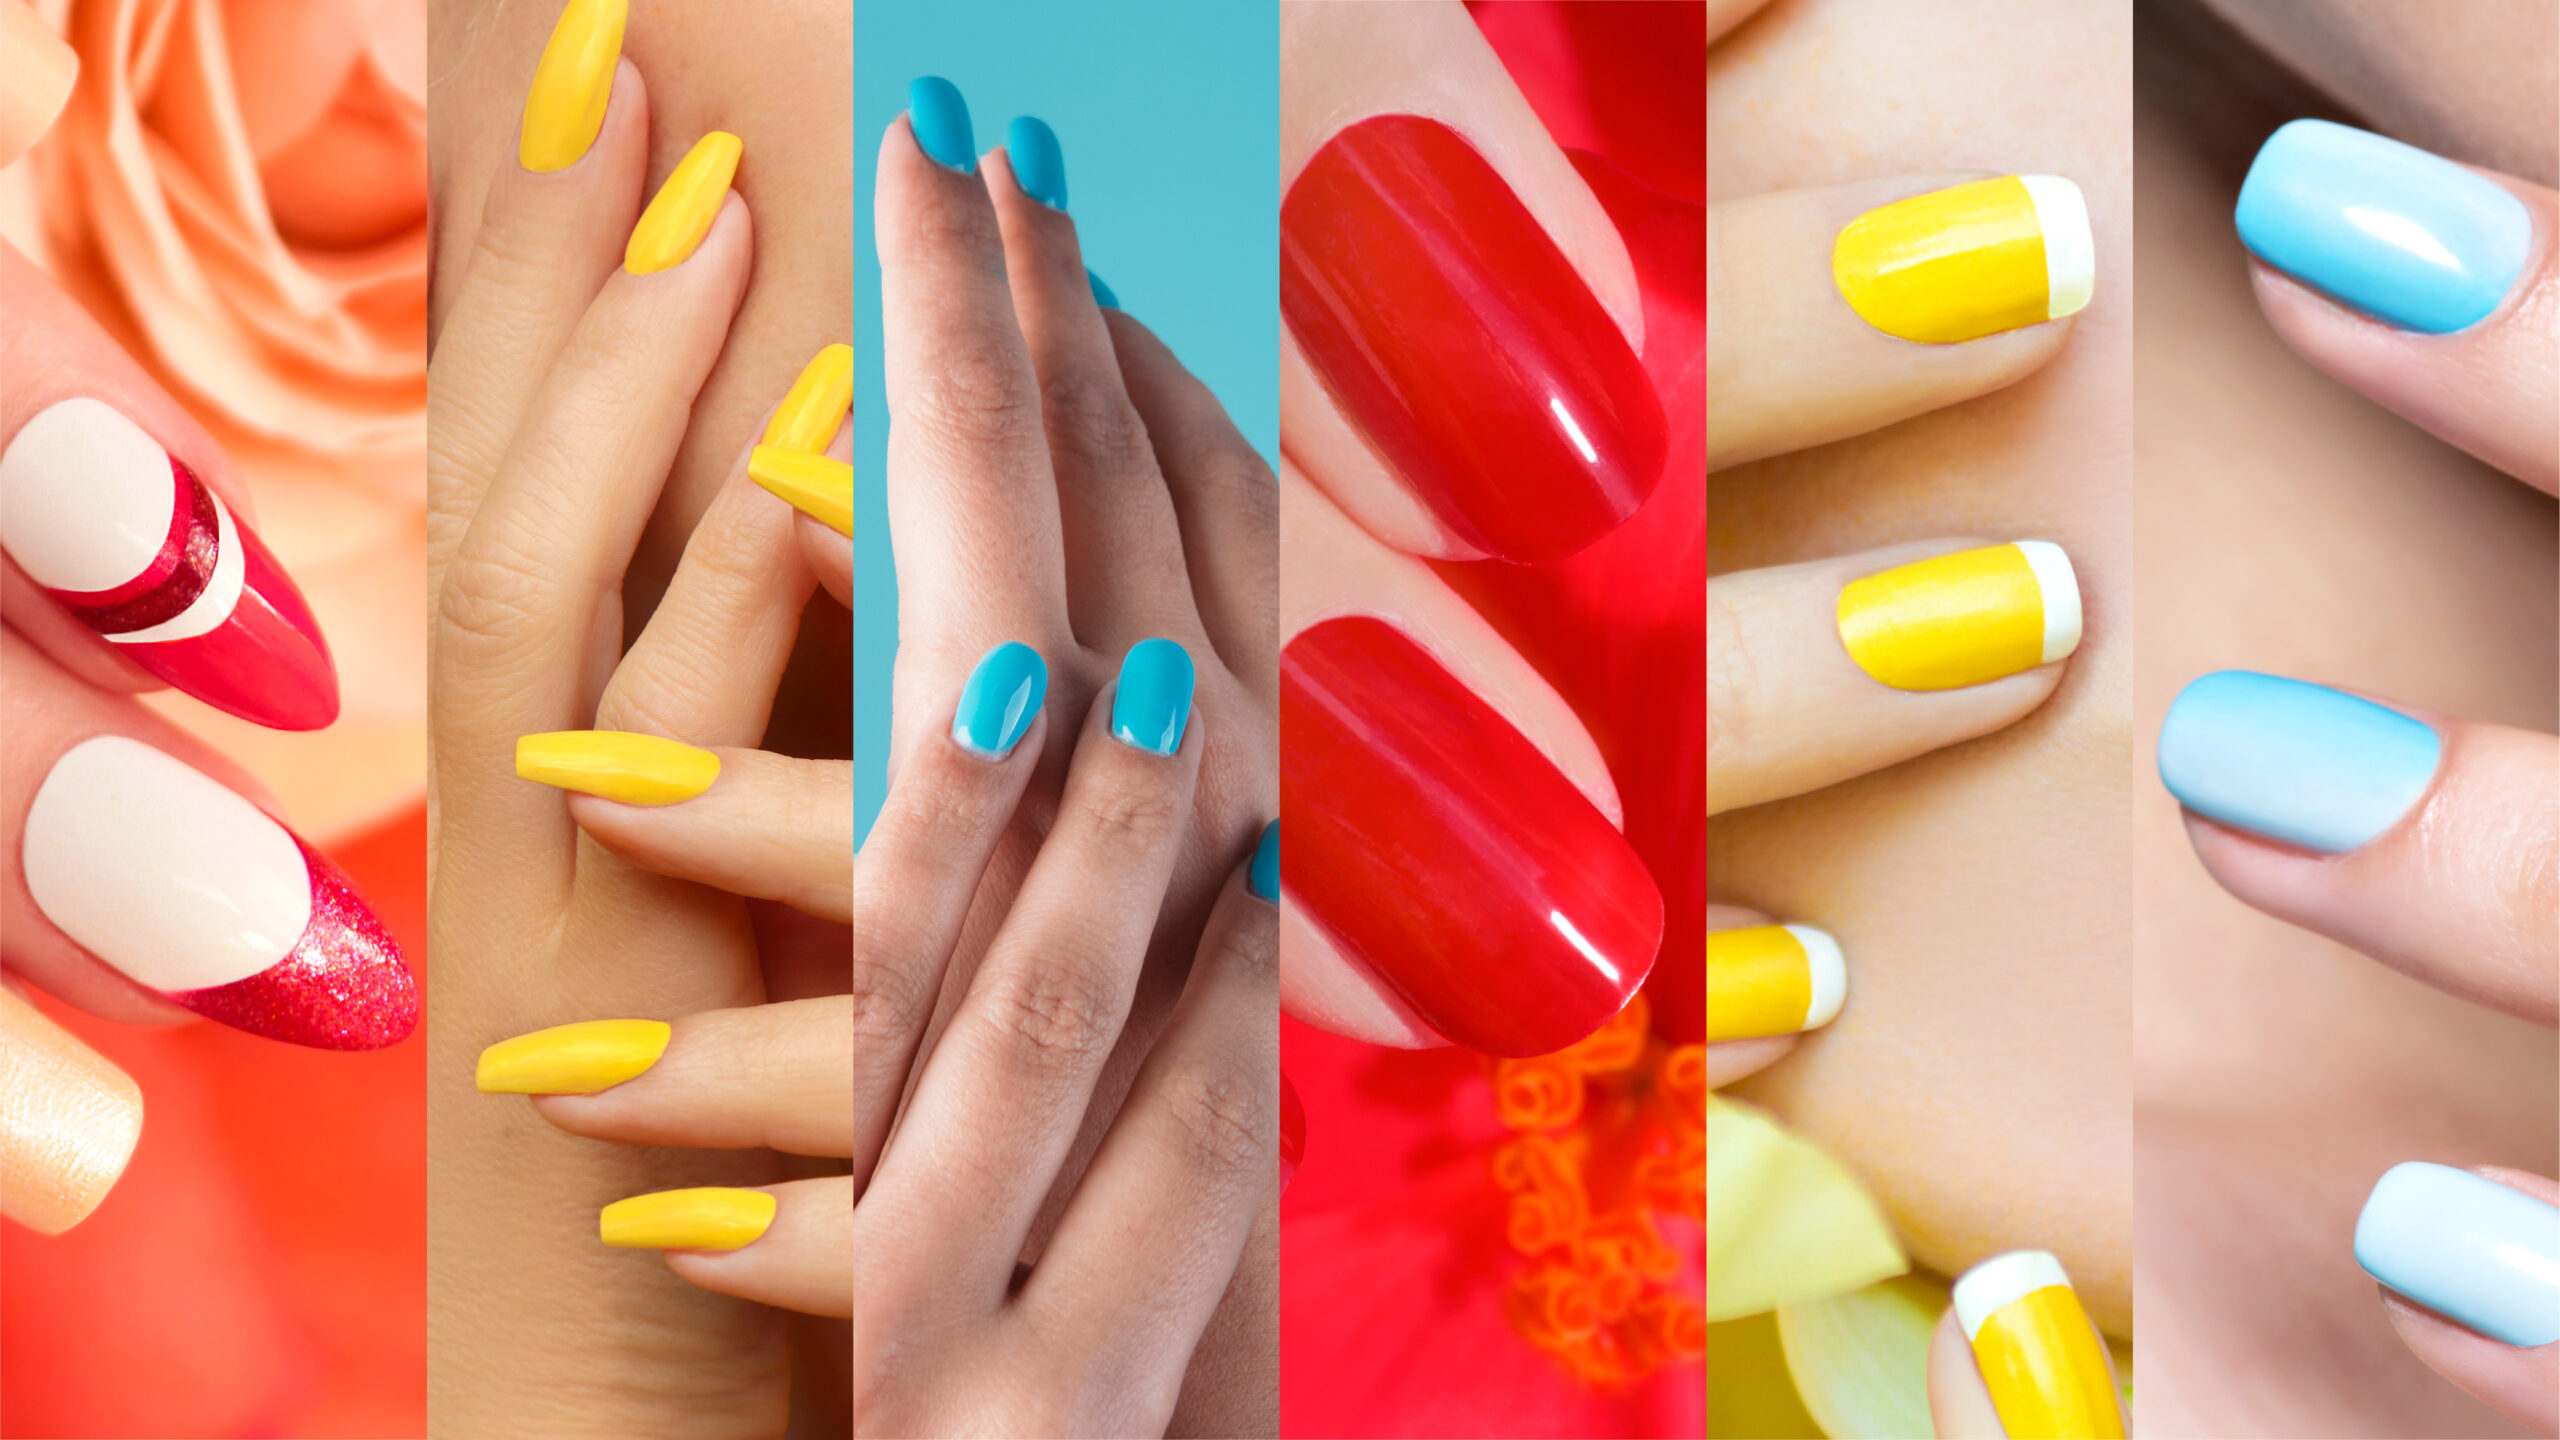
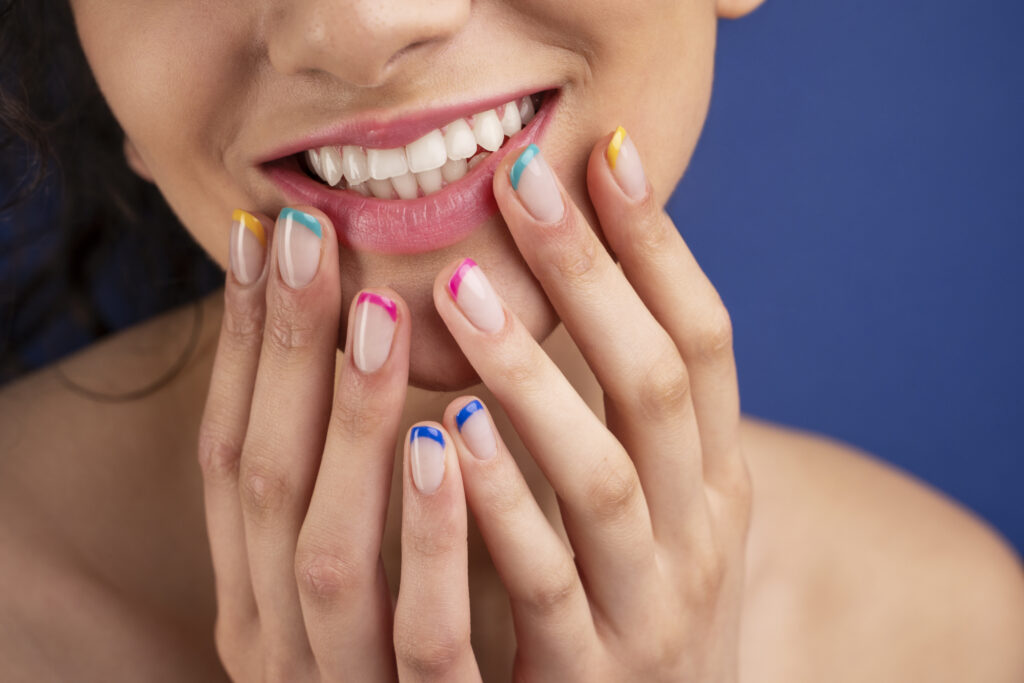
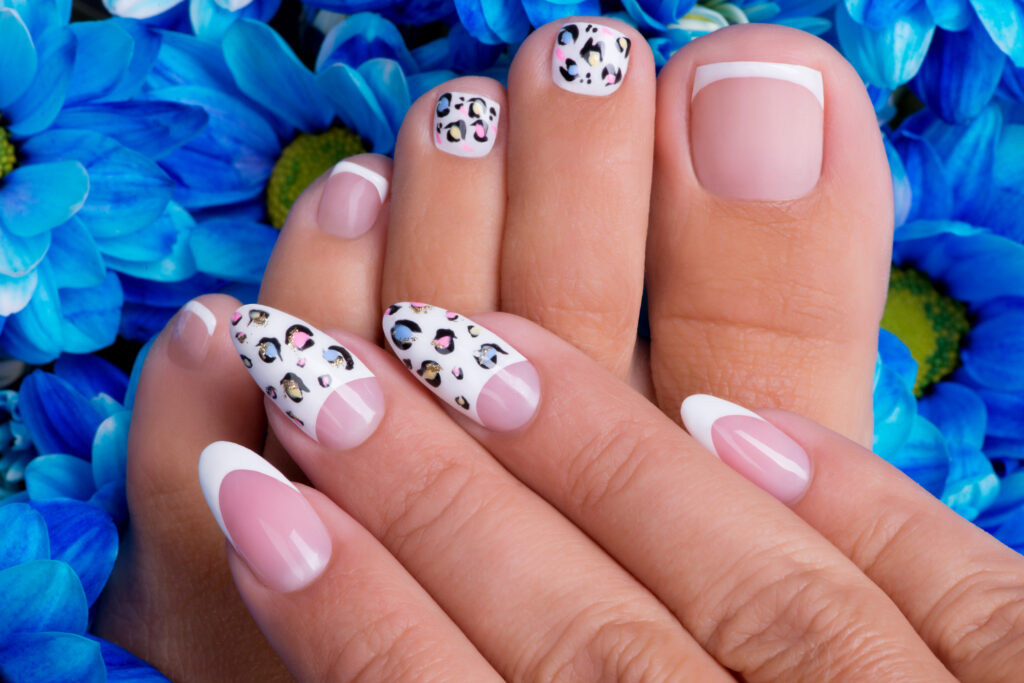
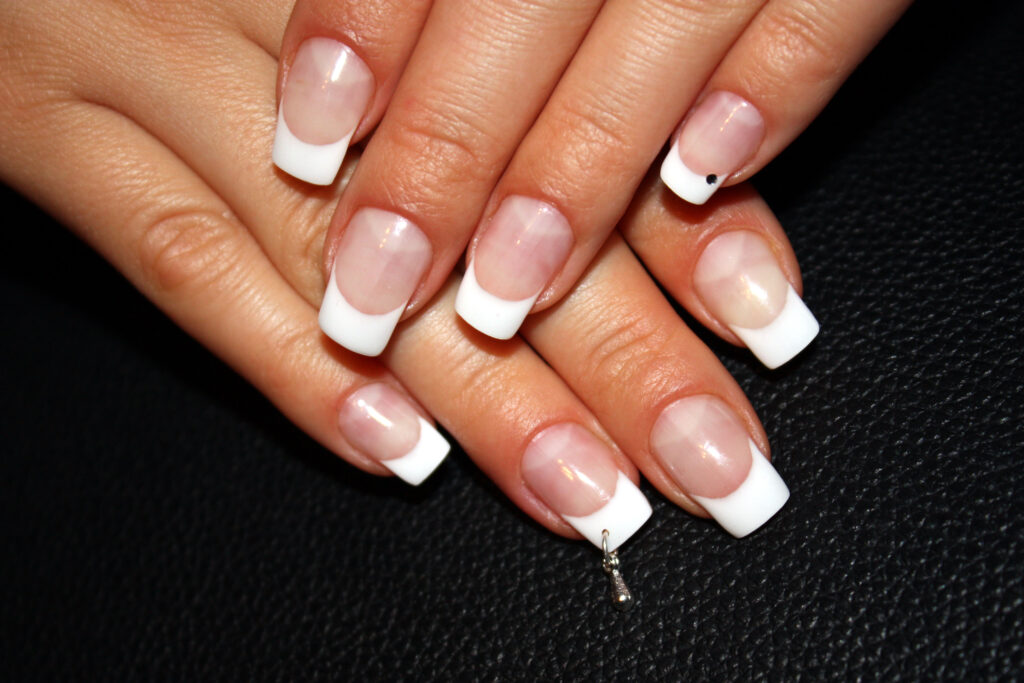
Even if the nude color and white French tip nails that contrast with the primary nail color are the classic trends, you can get creative with various tip styles, including colored tips, glitter tips, and alternative designs like diagonal or ombré tips. Pink French nails, black French nails, and ombré French nails are high in trend.
Step 3: Create the French Tips
Use nail guide strips or tape, place them at the desired angle on your nails to create the French tip line. Apply the chosen tip color (traditionally white) or any color you prefer to the exposed part of the nail. Remove the guide strips or tape while the polish is still wet for clean lines.
If you have a steady hand, you can go with the freehand techniques to create the French tips. Take your time and go slowly to achieve precise lines. If you make any mistakes, use a small brush dipped in nail polish remover to clean up the edges.
Pro Tip
Step 4: Apply the Main Color
Once the French tips are dry, apply the main color to the rest of your nails. Choose a shade that complements the tip color or creates an eye-catching contrast. Apply the polish in thin, even coats for a professional finish.
Step 5: Add Accents and Designs
To take your French nail art to the next level, consider adding accents or nail art designs to one or more nails. Use a fine nail art brush or dotting tool to create intricate designs, or apply rhinestones or decals for an elegant touch.
Step 6: Apply the Top Coat
Finish off your French nail art by applying a top coat. The top coat will seal your design, add shine, and extend the longevity of your French manicure. Be sure to cover the tips of your nails with the top coat to prevent chipping.
French Nails Variations and Inspirations
While the classic white-tip French manicure is timeless, you can always experiment with different variations to go creative. Experiment with colored tips, pastel hues, metallic finishes, and even themed designs for holidays and special occasions. Draw inspiration from celebrities and the latest fashion trends to create personalized French manicures.
Challenges and Common Mistakes
Doing a French nail design precisely is a simple yet challenging process. Even the most experienced nail artist can face some challenges and make mistakes during the process. So, don’t bother if you encounter smudges, imperfections, or uneven tips. The key is to remain patient and use a gentle hand when making corrections. Always keep a fine brush or Q-tip dipped in nail polish remover nearby for precise touch-ups.
Consistency is the key to perfection. The more you practice the art of French manicure nails, the more gracefully you can master the technique.
Remember
Ensuring the Longevity and Maintenance of French Nails
To keep your French nail design looking flawless, you need to follow a few simple maintenance tips.
- Avoid using your nails as tools to prevent chipping.
- Wear gloves when performing household chores that could damage your manicure.
- Moisturize your hands and nails regularly to keep them healthy and hydrated.
- Remove the nail polish properly using a gentle nail polish remover.
Also Read: A guide on hand care routine and hand care tips!
Conclusion
With this step-by-step guide to French Manicures, you can easily master the technique at home. Embrace your artistic side, experiment with different colors and designs, and have fun! French nail art is not only a style statement but also a reflection of your personality and creativity. So, get ready to flaunt your elegant and chic French nail design with confidence!